Play with your Saturn Control Pad once more!
Where to buy
Kaden no Ken-chanGEEKY Fab. BOOTH Store
(BOOTH ships worldwide through Buyee / tenso.com, so you can order this from outside Japan.)
Product overview
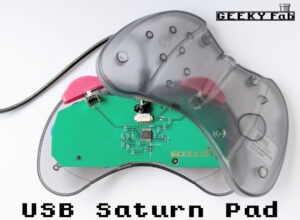
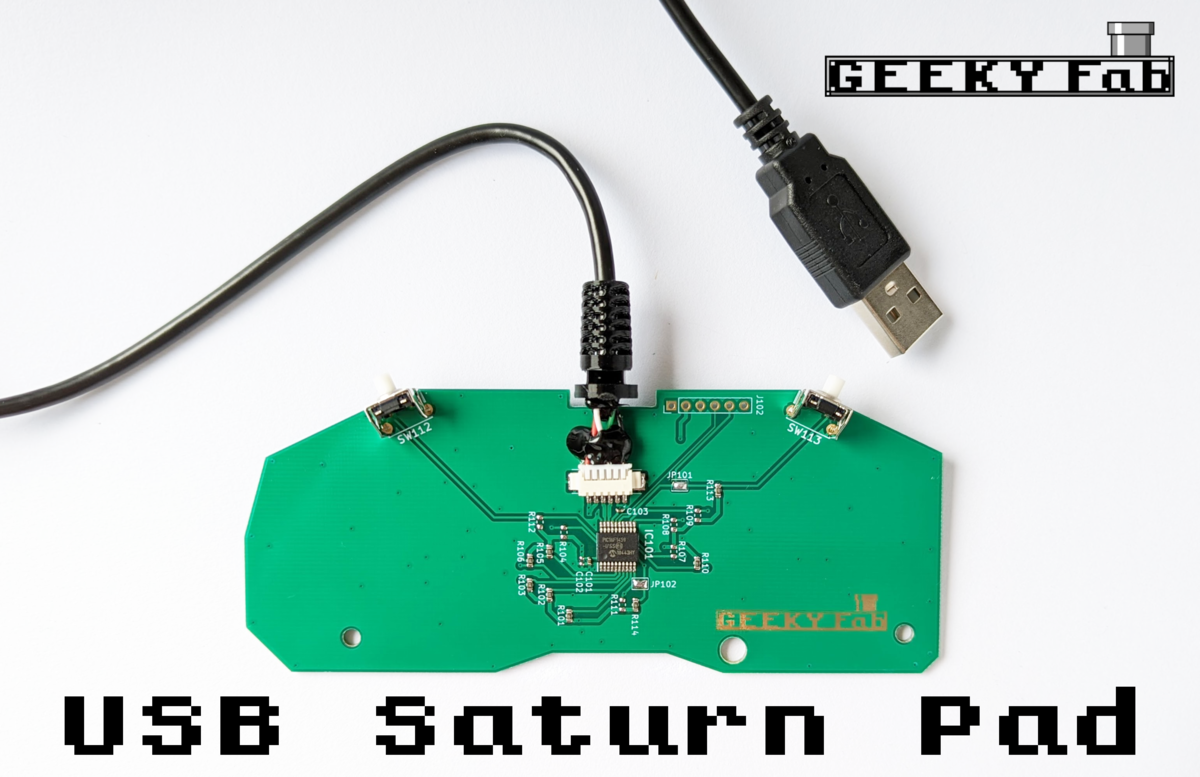
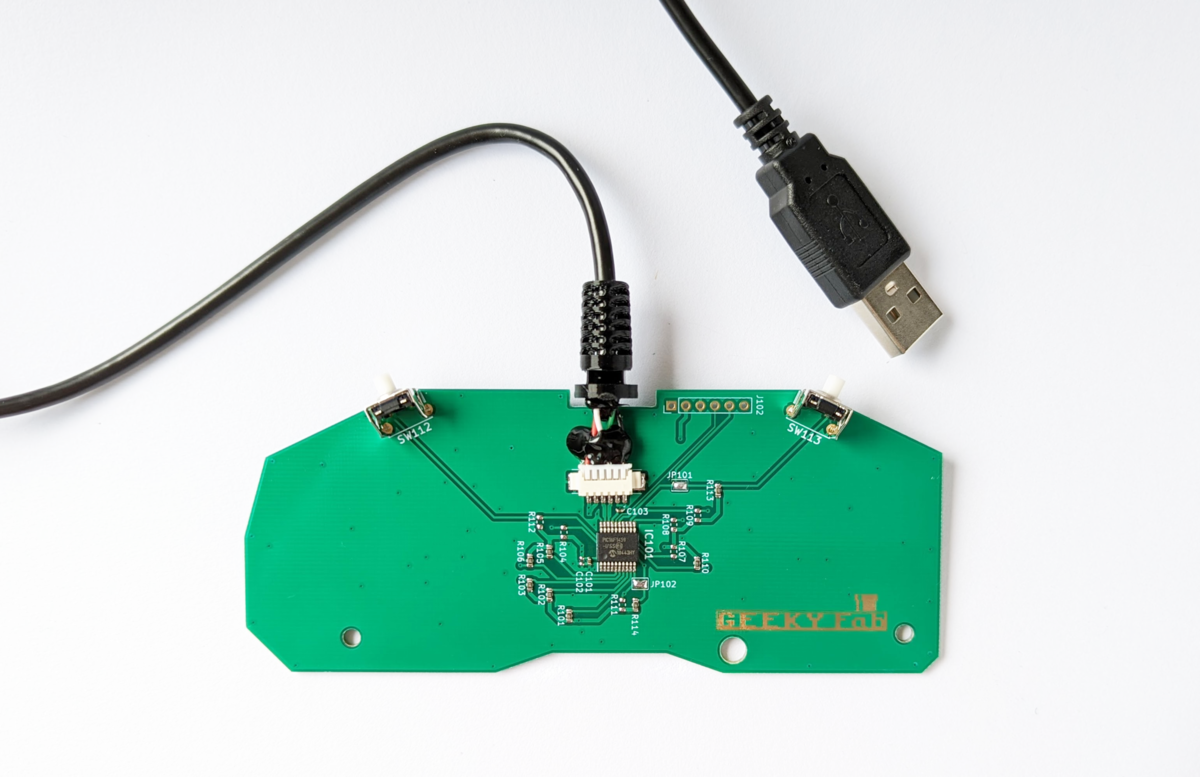
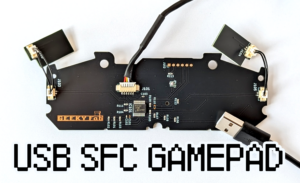
This is a board for converting a Sega Saturn (SS) controller — commonly known as the Saturn Control Pad — into a USB gamepad.
It works with Windows PCs, the Raspberry Pi, the Retro Freak, and more.
You can play retro games on emulators, of course, and you can also enjoy the latest games on Steam.
The only tool you need to assemble it is a single precision screwdriver.
The firmware is run as open source, so users are free to edit it.
You can flash your edited firmware via USB.
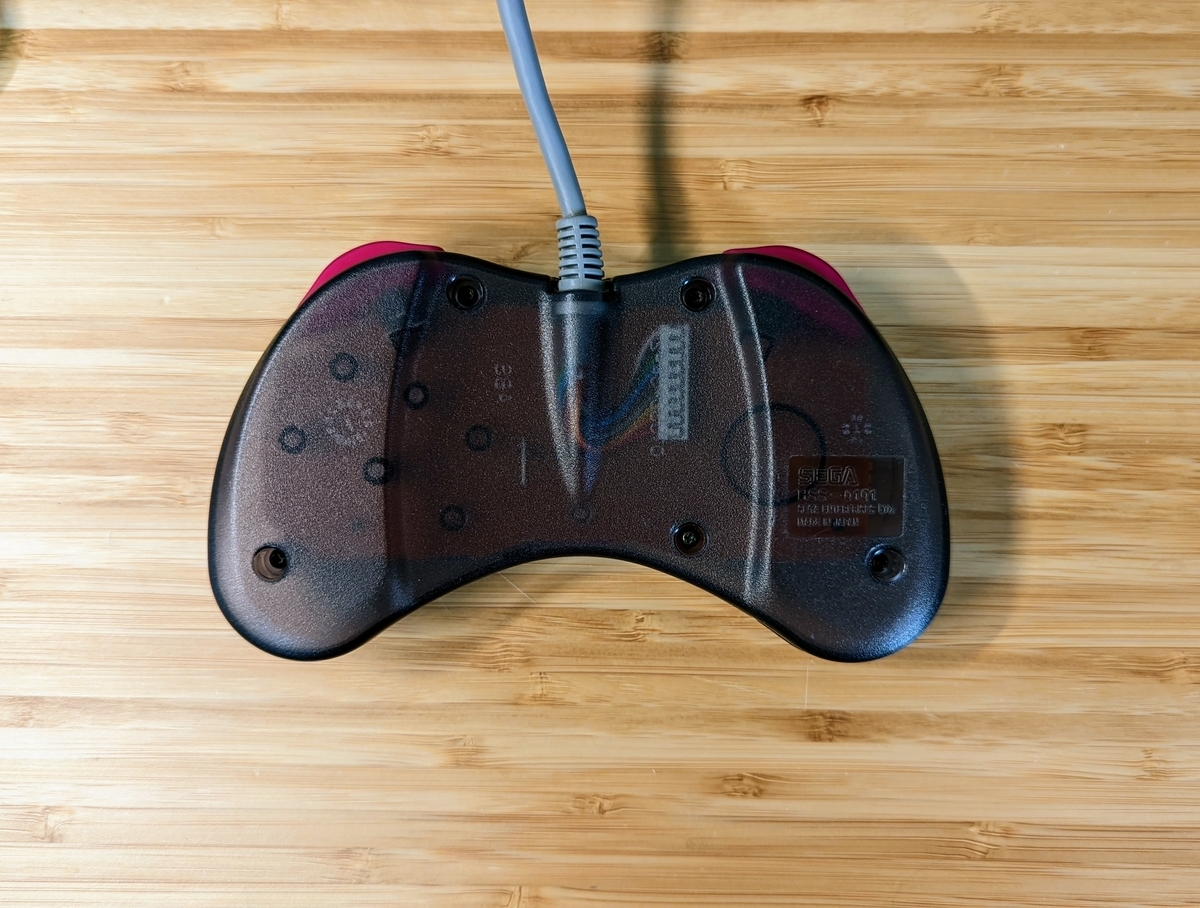
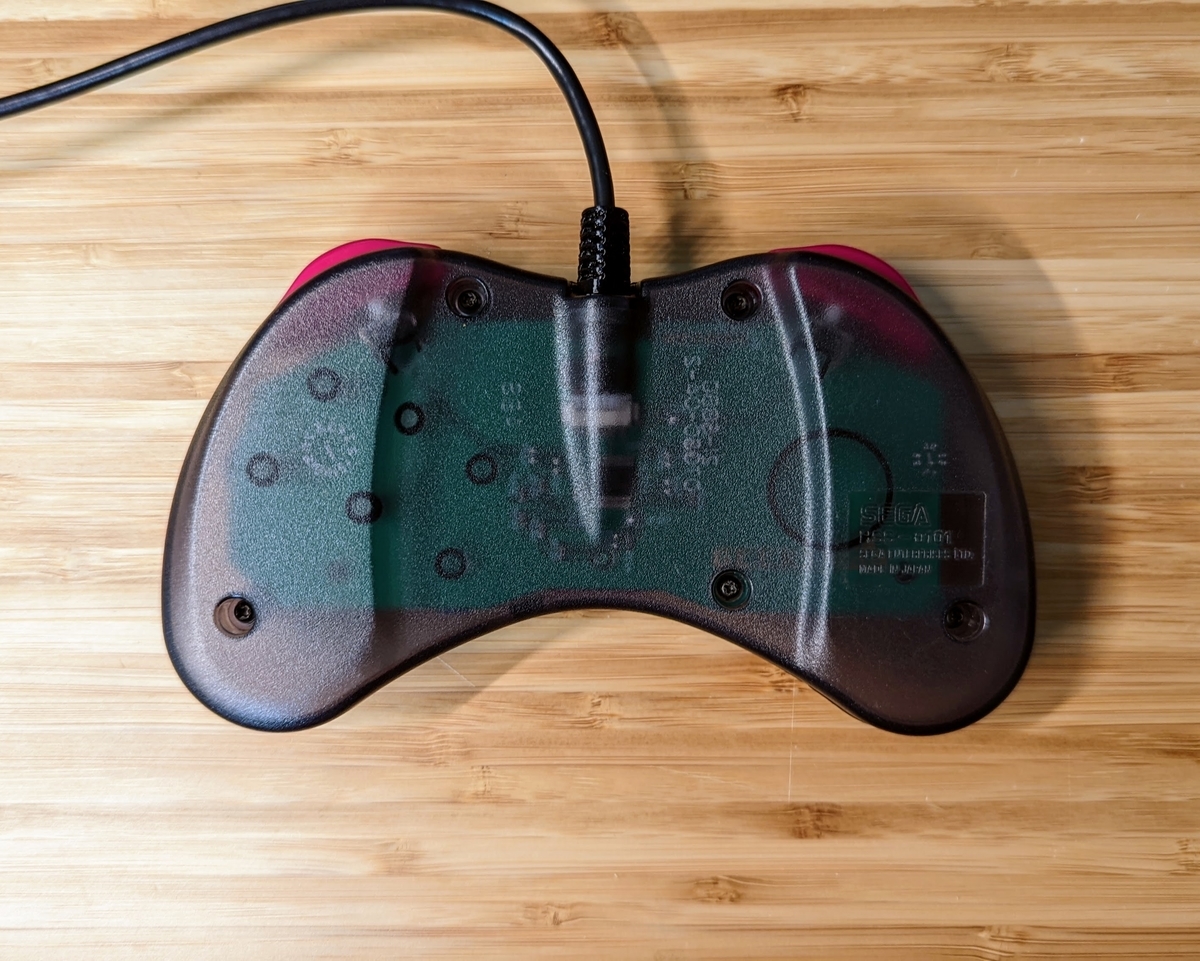
※ For the older (gray) Saturn Control Pad, we received one report from a user that the D-pad did not work properly on units with MADE IN JAPAN engraved on the back. (Another user reported that theirs worked without any problems.)
We have confirmed correct operation on all other Saturn Control Pads (the MADE IN CHINA older type, the newer type (white), and the Cool Pad).
Product photos
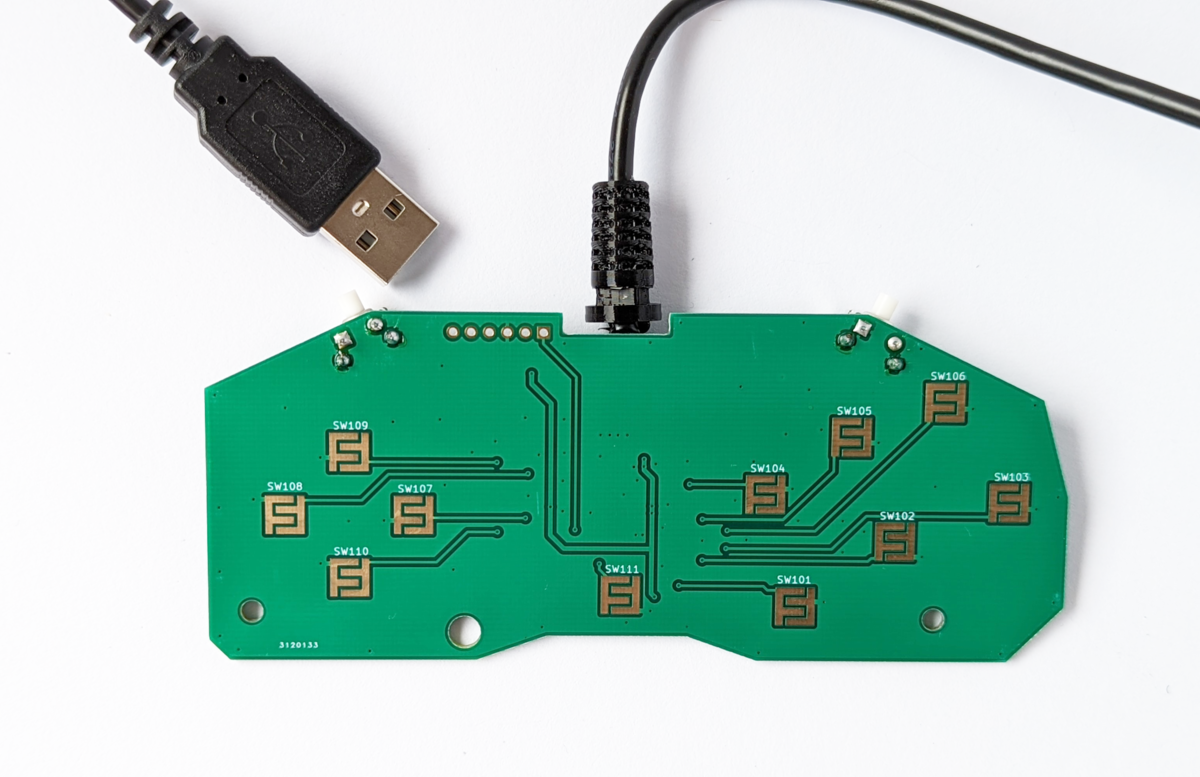
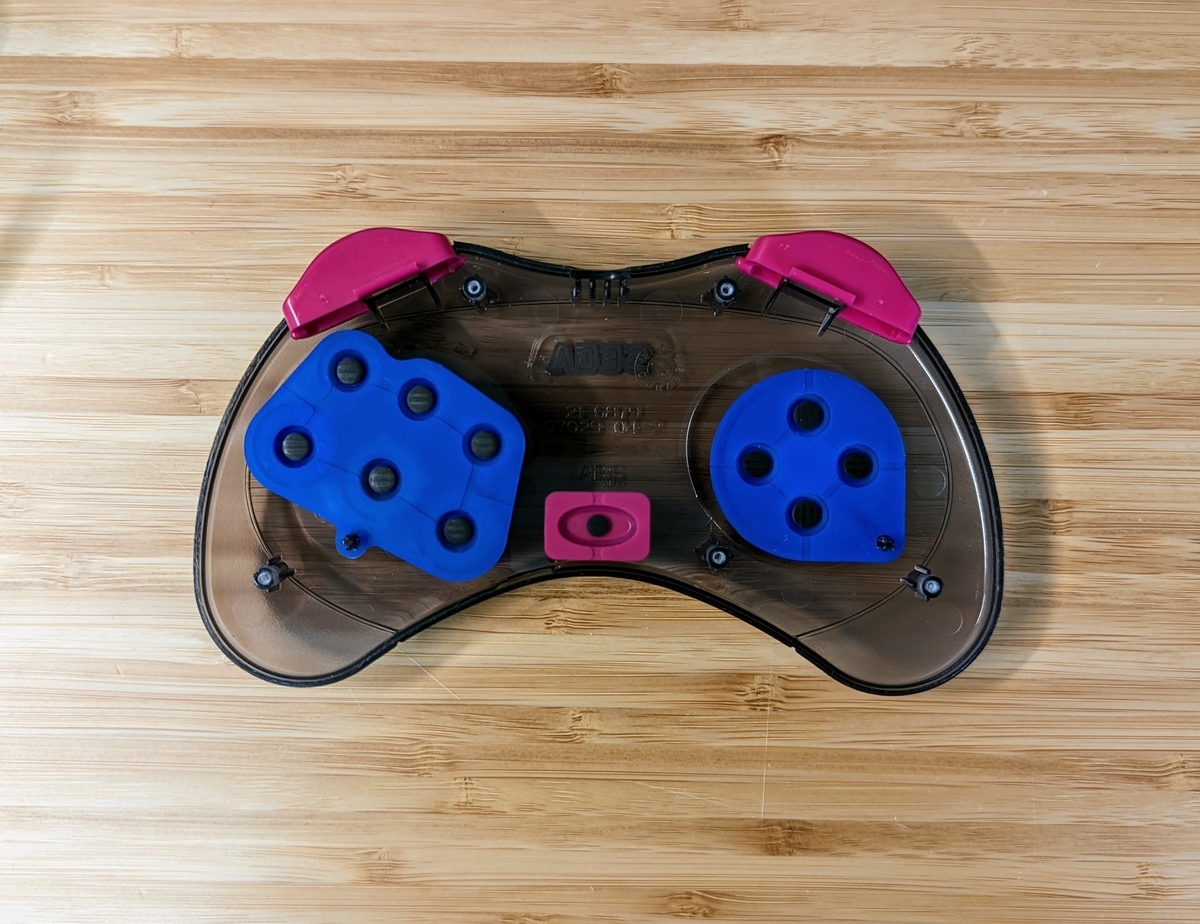
Product photo: button-pad side
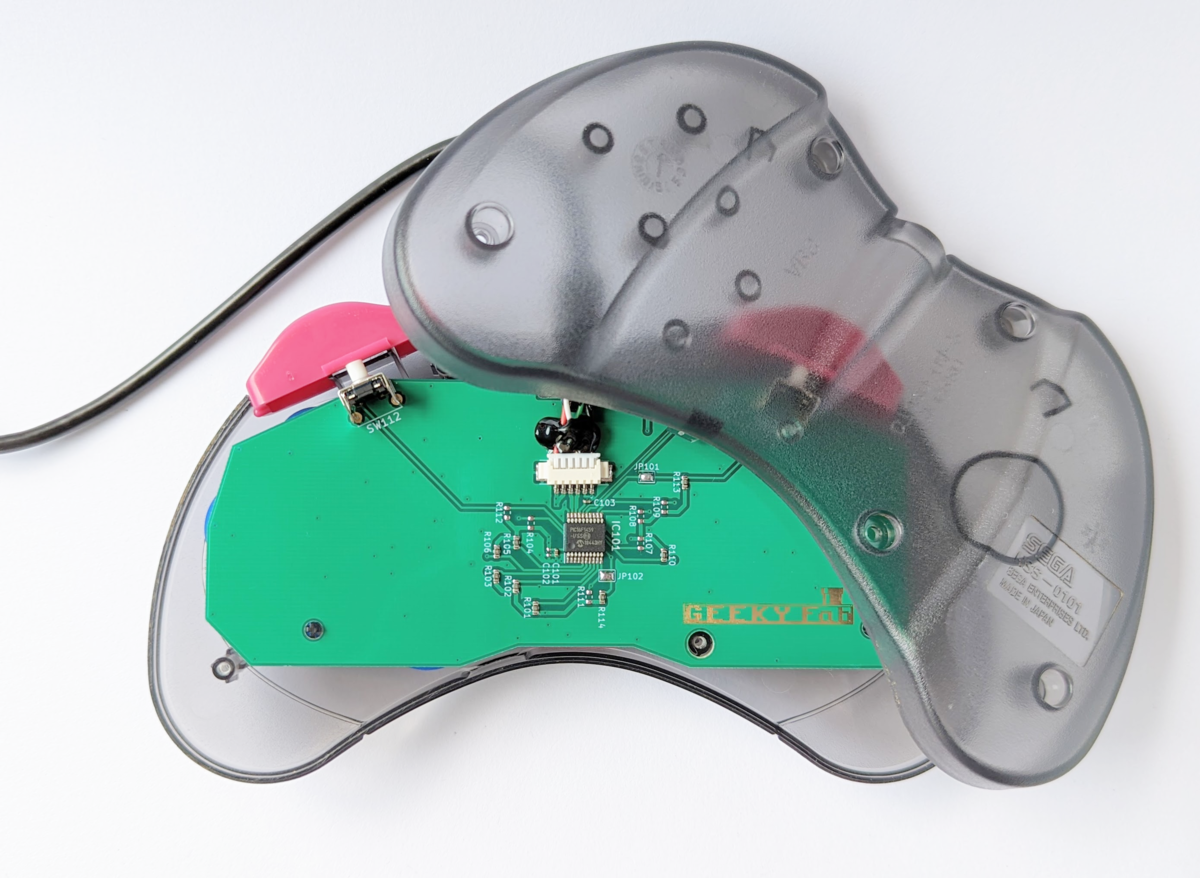
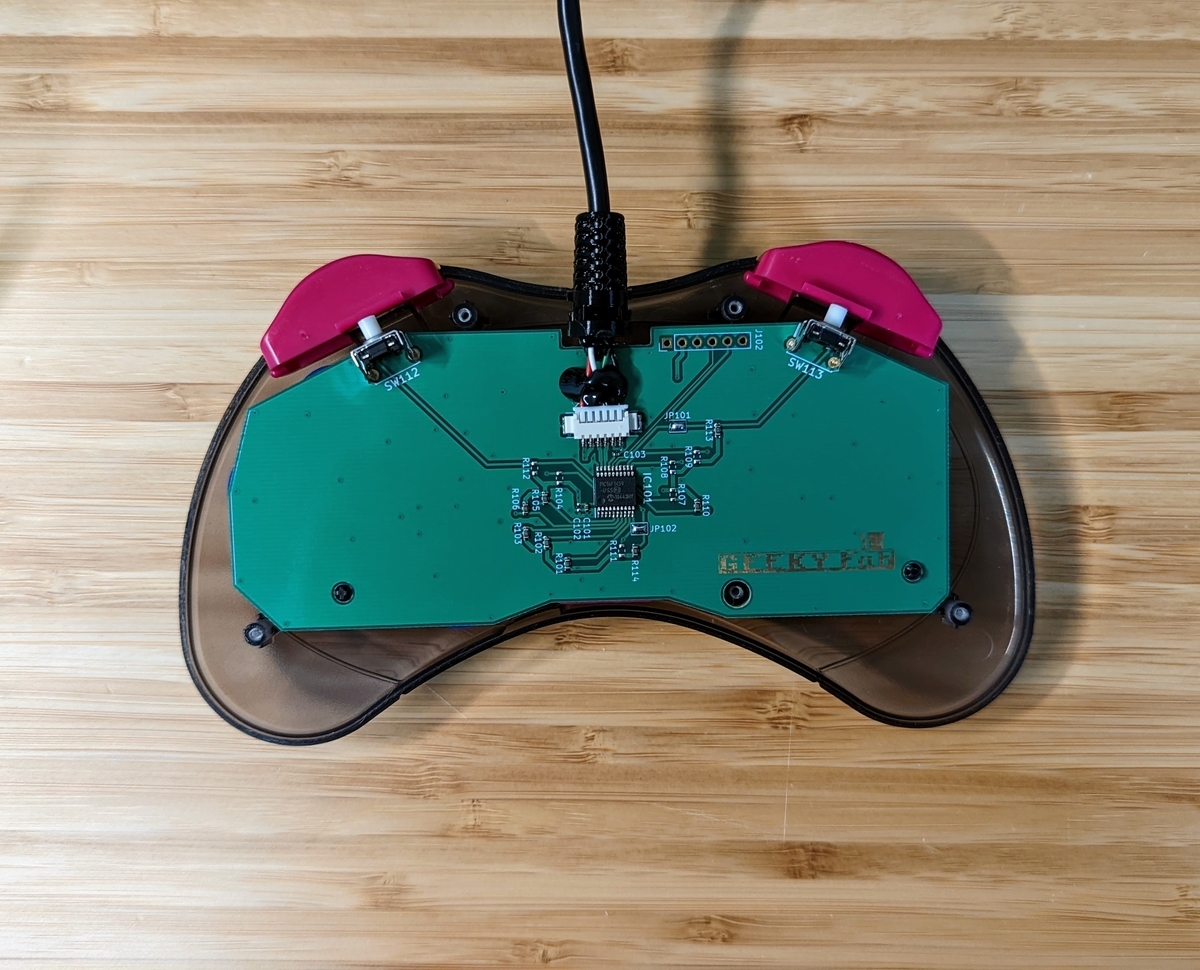
An example of it installed
Demos
Playing Mario World on the Retro Freak
Playing Cuphead on Steam
Product features
Some slightly unusual features
In addition to the basic gamepad functions, it supports the following two features to make up for the Saturn Control Pad’s small number of buttons.
Dual button assignment
You can assign two different buttons to each of L, R, X, Y, and Z.
You switch between the two buttons by holding the start button and the R button together for at least one second.
※ For firmware v1.0.0, hold for 3 seconds.
D-pad mode switching
You can switch the D-pad between analog joystick mode, hat switch mode, and Z-axis / Z-rotation mode.
You switch modes by holding the start button and the L button together for at least one second.
※ For firmware v1.0.0, hold for 3 seconds.
Freely rewritable firmware
The product’s firmware is published as open source on GitHub, and users are free to edit it.
You can flash the firmware via USB.
If you plug the USB into your PC while holding the start button, the product boots into firmware flashing mode.
The details of flashing the firmware are explained at the end of this article.
※ The USB VID and PID used in this product were obtained under a sublicense agreement with Microchip. For that reason, third parties are prohibited from commercially using the VID and PID contained in this product’s program.
Tested OSes / game consoles
- Retro Freak
- Windows10
- Windows11
- Raspberry PI 3
- Raspberry Pi OS
- Recalbox for RASPBERRY PI 3
- RetroPi 4.7.1 for RASPBERRY PI 2/3
- Raspberry PI 4
- Raspberry Pi OS
- Recalbox for RASPBERRY PI 4/400
- RetroPi 4.7.1 for RASPBERRY PI 4/400
- Switch (firmware rewrite required)
Game consoles reported working by users
The following consoles are ones that users have reported as working.
- PS3
- Confirmed working with Puyo Puyo Tsu
- PS4
- Confirmed working with Street Fighter V
- Recognized as a legacy controller
- Polymega
- Requires rewriting to the Polymega firmware (the firmware is listed at the end of this article)
Unfortunately, we have confirmed that it currently does not work on the following consoles.
- Analogue Pocket
Other specifications
USB cable length: approx. 2.0 m
Microcontroller used: PIC microcontroller (PIC16F1459)
About the L and R buttons
The switches used for this product’s L and R buttons are a little stiffer than the Saturn Control Pad’s.
| Actuation force | Travel | |
|---|---|---|
| This product | 1.6N | 0.5mm |
| Saturn Control Pad | approx. 1N (measured) | approx. 1mm (measured) |
We use this switch:
https://www.mouser.jp/ProductDetail/612-TL6110CF
You can also swap in the Saturn Control Pad’s original switches.
Swapping them requires solder, a soldering iron, a desoldering tool, and so on.
How to assemble
You just swap the internal board with this product.
All you need is a single precision screwdriver.
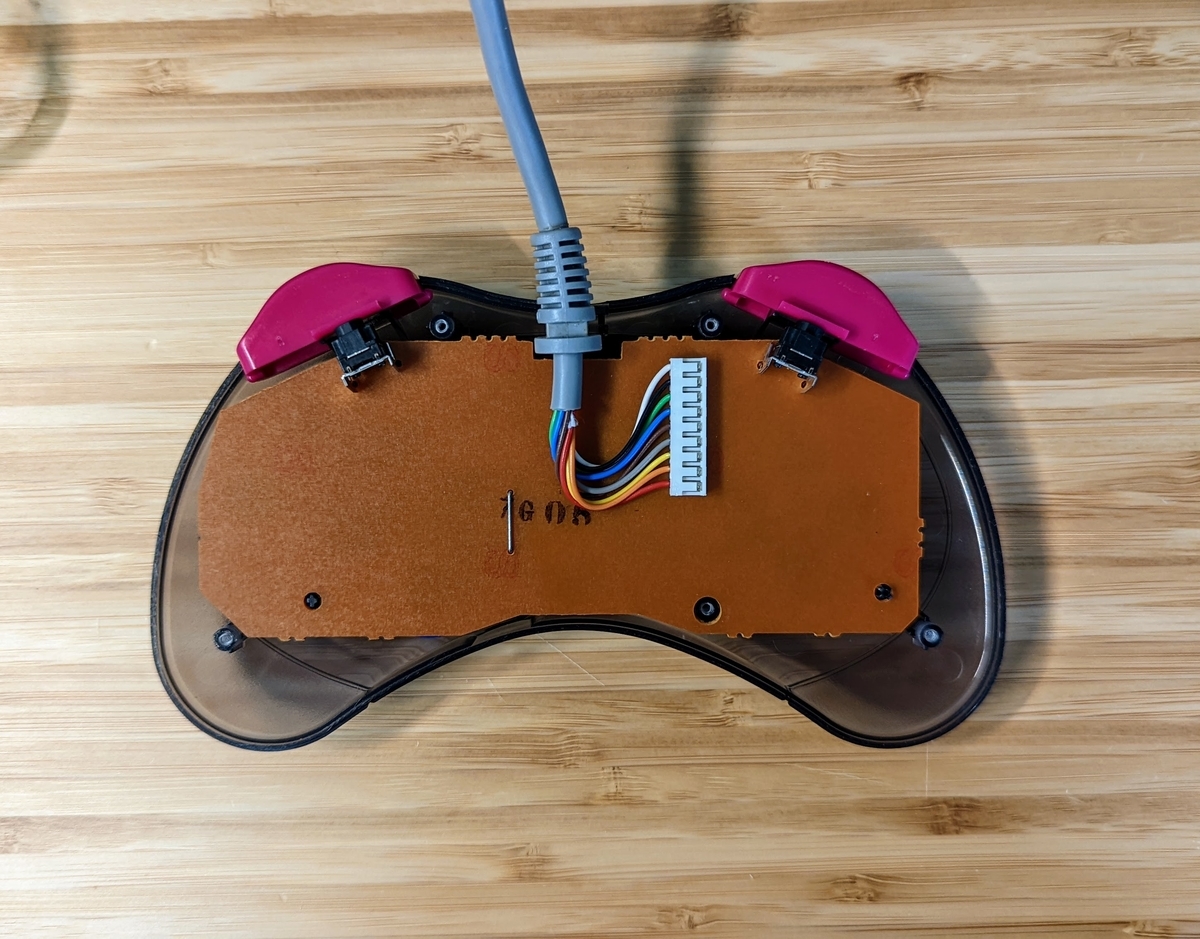
Remove all five screws on the back of the Saturn Control Pad.
Open the cover.
Remove the internal board.
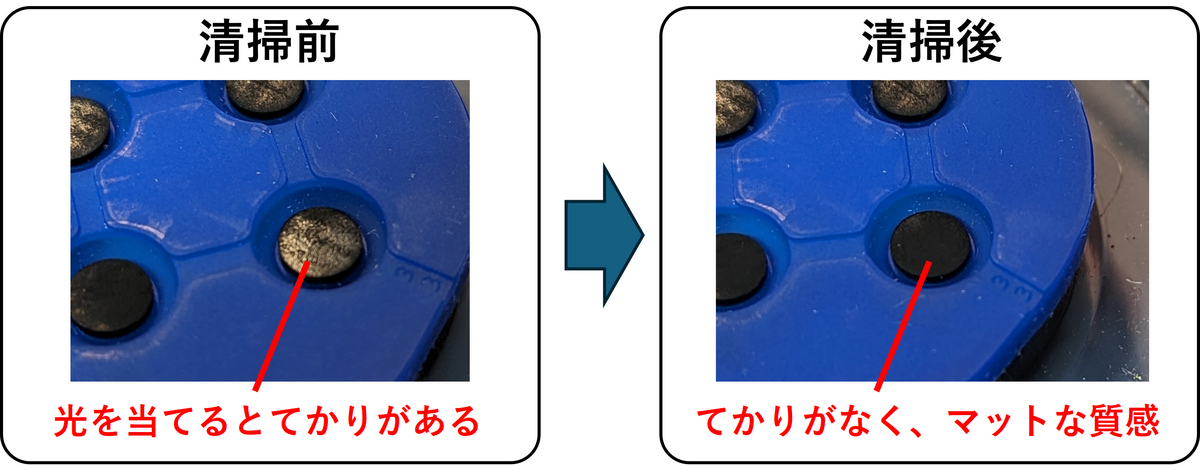
※ If the buttons respond poorly, we recommend cleaning the conductive rubber parts with a lint-free wipe (such as a Kimwipe) soaked in anhydrous ethanol.Install the USB gamepad conversion board.
Close the cover, fasten all the screws, and you’re done.
If you’re using the older gray-type Saturn Control Pad
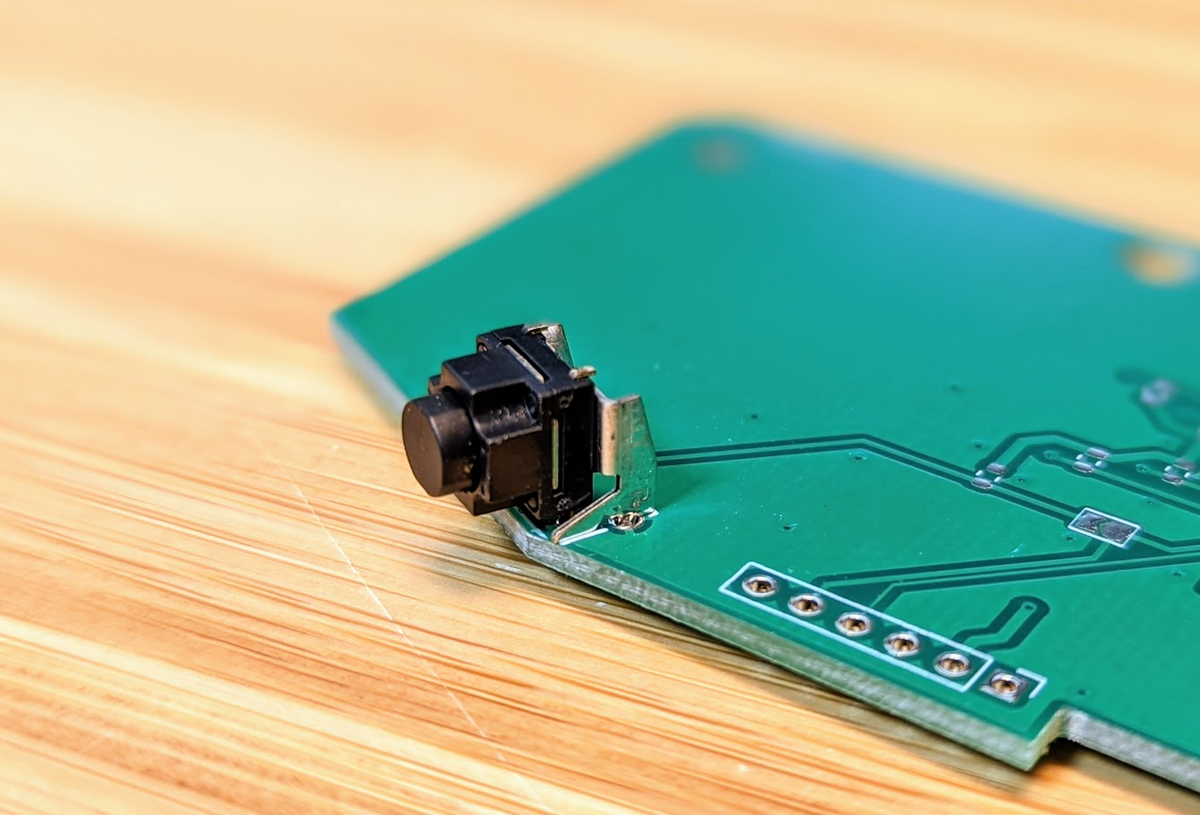
On the older gray-type Saturn Control Pad, the pins that hold the board in place are very fragile and may break when you take it apart.
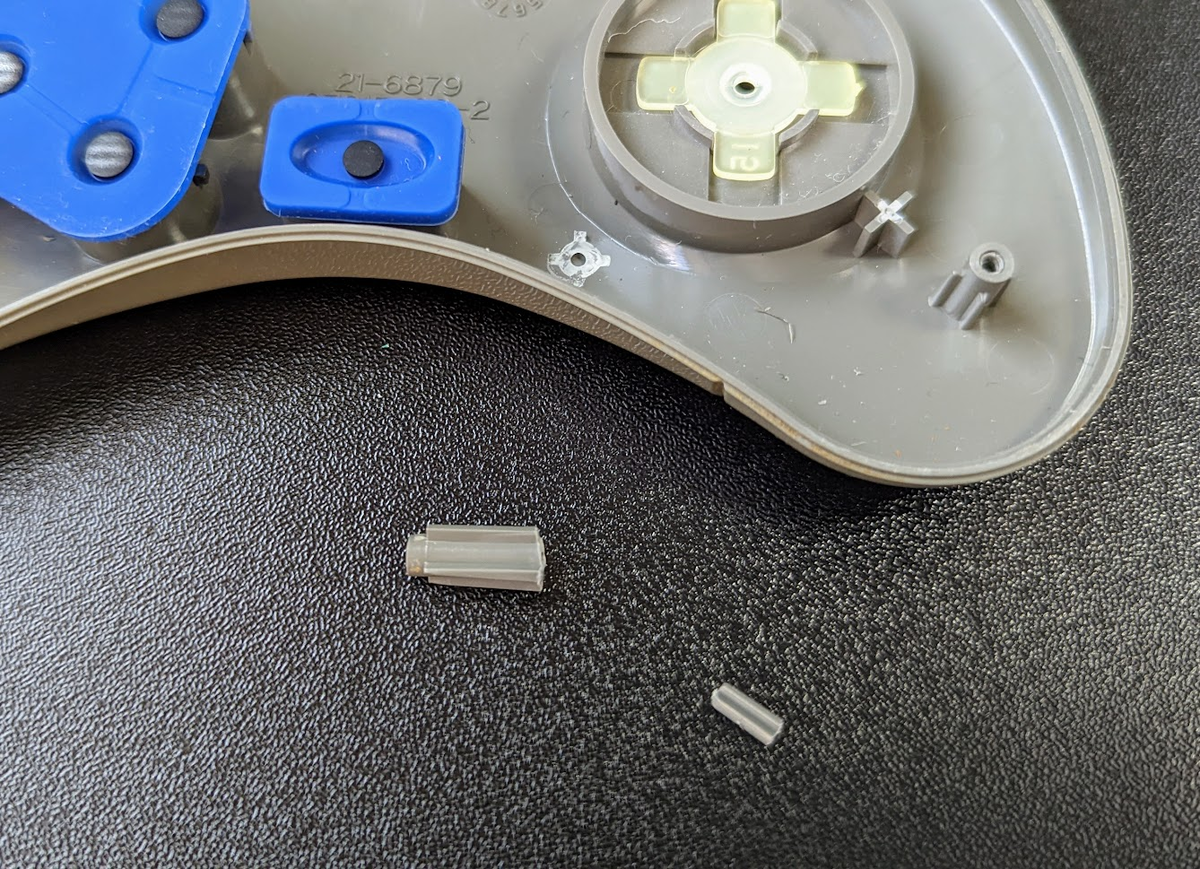
If one breaks, assemble it while applying glue or similar to the pin, as shown in the photo below.
The trick is to assemble before the glue dries.

Testing
Testing works the same way as for the USB Conversion PCB Kit for SNES / SFC Controllers.
Please see here for details.
About controller setup in Steam
To use a gamepad in Steam, please configure it from Big Picture mode.
This page is a helpful reference.
Steam Controller Settings: How to Customize from the Gamepad Screen – Apple Geek LABO
If your controller is not recognized in Big Picture mode, open Steam’s Settings → Controller → General Controller Settings, select “SS Gamepad,” and assign the buttons.
Note that if you use the xinput version of the firmware, the setup above is not needed.
About flashing the firmware
Web tool for flashing firmware
We provide a firmware flashing tool.
You can use it without installing anything.
For how to use it, see this page.
Firmware collection
You can find the latest firmware on the page below.
List of the latest firmwareBelow are descriptions of each firmware.
Original firmware
This is the firmware flashed at the time of purchase.
It works as a DirectInput gamepad.
It supports the button mapping tool.
Xinput version
This is a version that supports Xinput.
Hold start+L for at least one second to switch the D-pad mode.
Hold start+R for at least one second to change the button assignment of R, L, Z, and C.
Switch version
This is the version for the Switch.
It supports the button mapping tool.
The default button assignments are as follows.
| Saturn Control Pad button | Default | After holding start+R |
|---|---|---|
| A | A | A |
| B | B | B |
| C | R trigger | select |
| X | X | X |
| Y | Y | capture |
| Z | L trigger | home |
| L | L | left stick press |
| R | R | right stick press |
| start | start | start |
Also, holding start + D-pad up for at least one second swaps the A and B buttons and the X and Y buttons.
POLYMEGA version
This is a version based on the Xinput-compatible one, with the button layout optimized for the POLYMEGA.
After you change the button assignment by holding start + R, the Z button maps to the POLYMEGA’s menu button.
PS version
This is a version based on the original firmware, with the button layout made to fit the PS3.
https://github.com/takusan213/usb-ss-gamepad/blob/main/software/binary/v.ps3.1.0.0.hex
PS version (Saturn-style button layout)
This is the original firmware with only the start button’s placement modified for PS.
https://github.com/takusan213/usb-ss-gamepad/blob/main/software/binary/v.ps3(SS)_1.0.0.hex
Build diary