Editor’s note: This is an English translation of an article originally published in Japanese in July 2022 (read the original — Japanese article). For the latest information on the product covered here, see its product page. Some details — the parts, the shops, and the games shown — reflect that time.
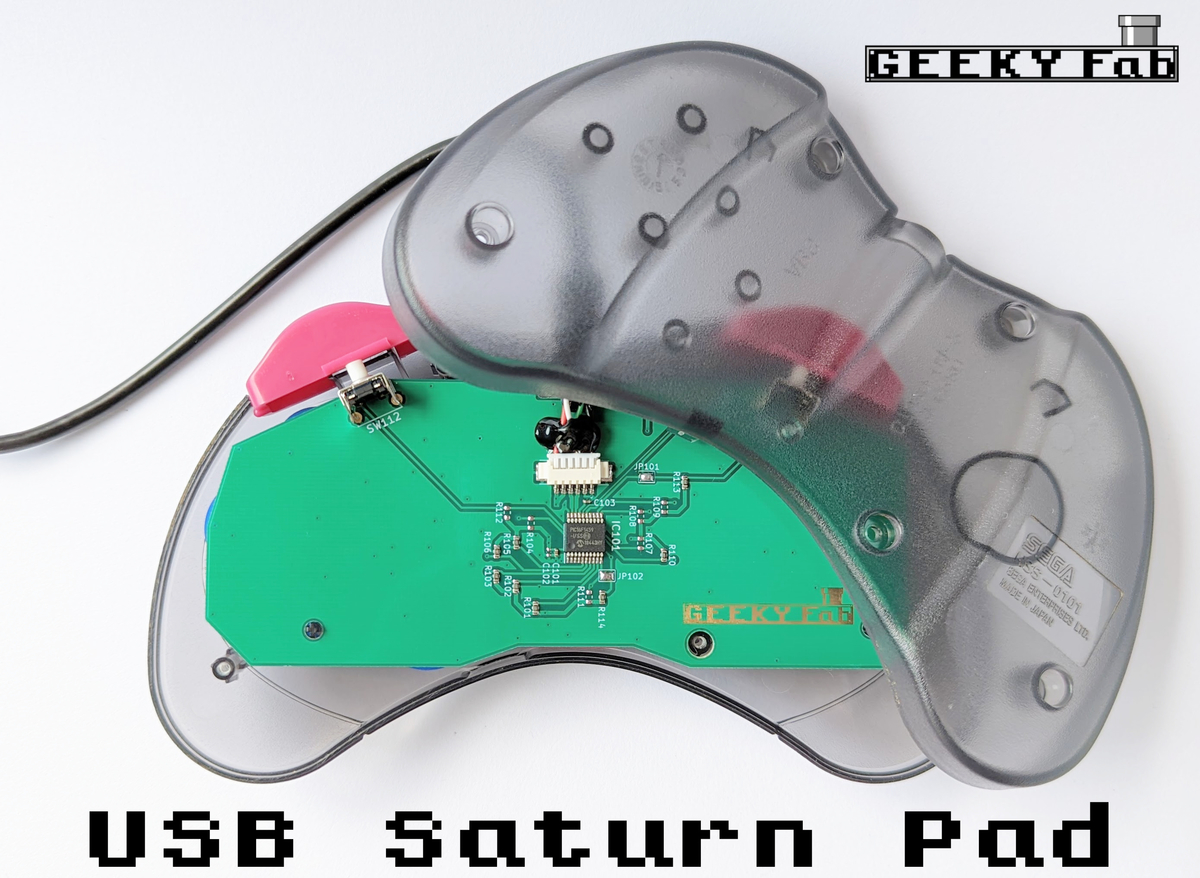
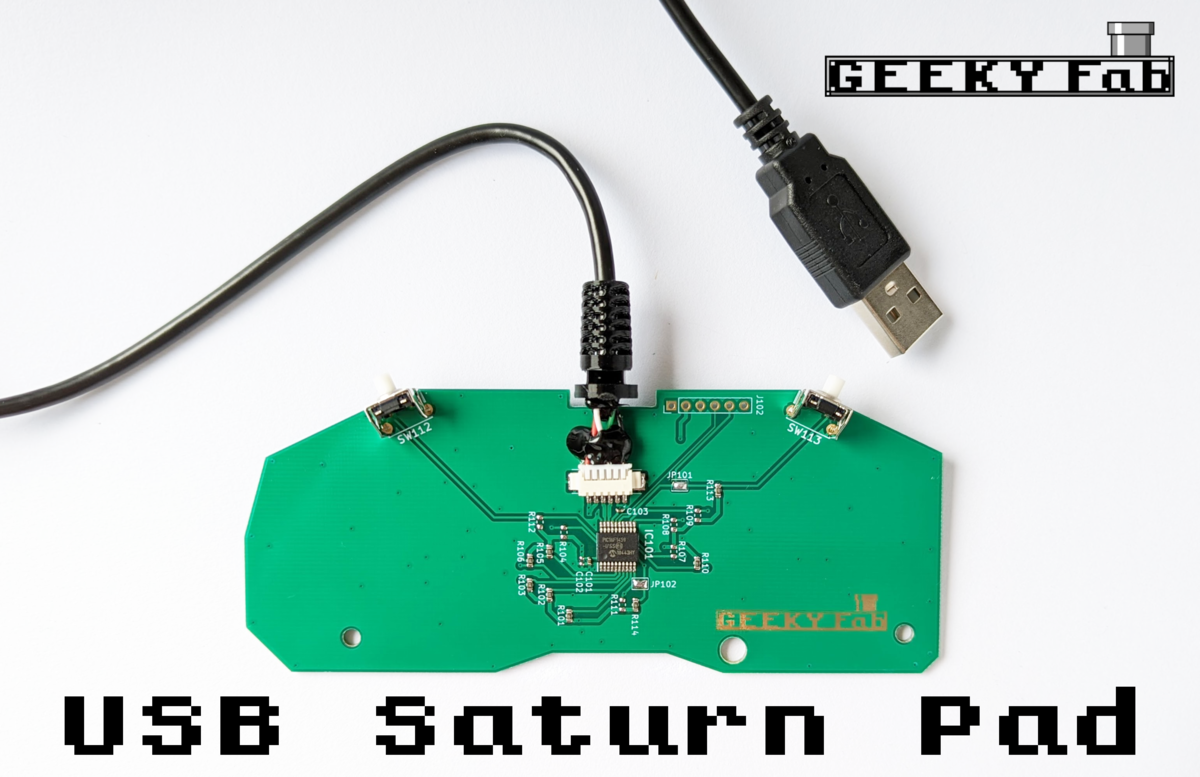
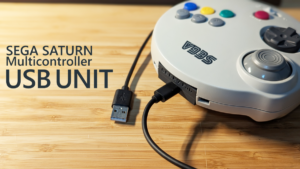
I made a board that turns the Sega Saturn controller (the Saturn Control Pad, or “Saturn pad” for short) into a USB gamepad.
This article is something like a build diary for that USB conversion board.
Here’s the page for the finished product.
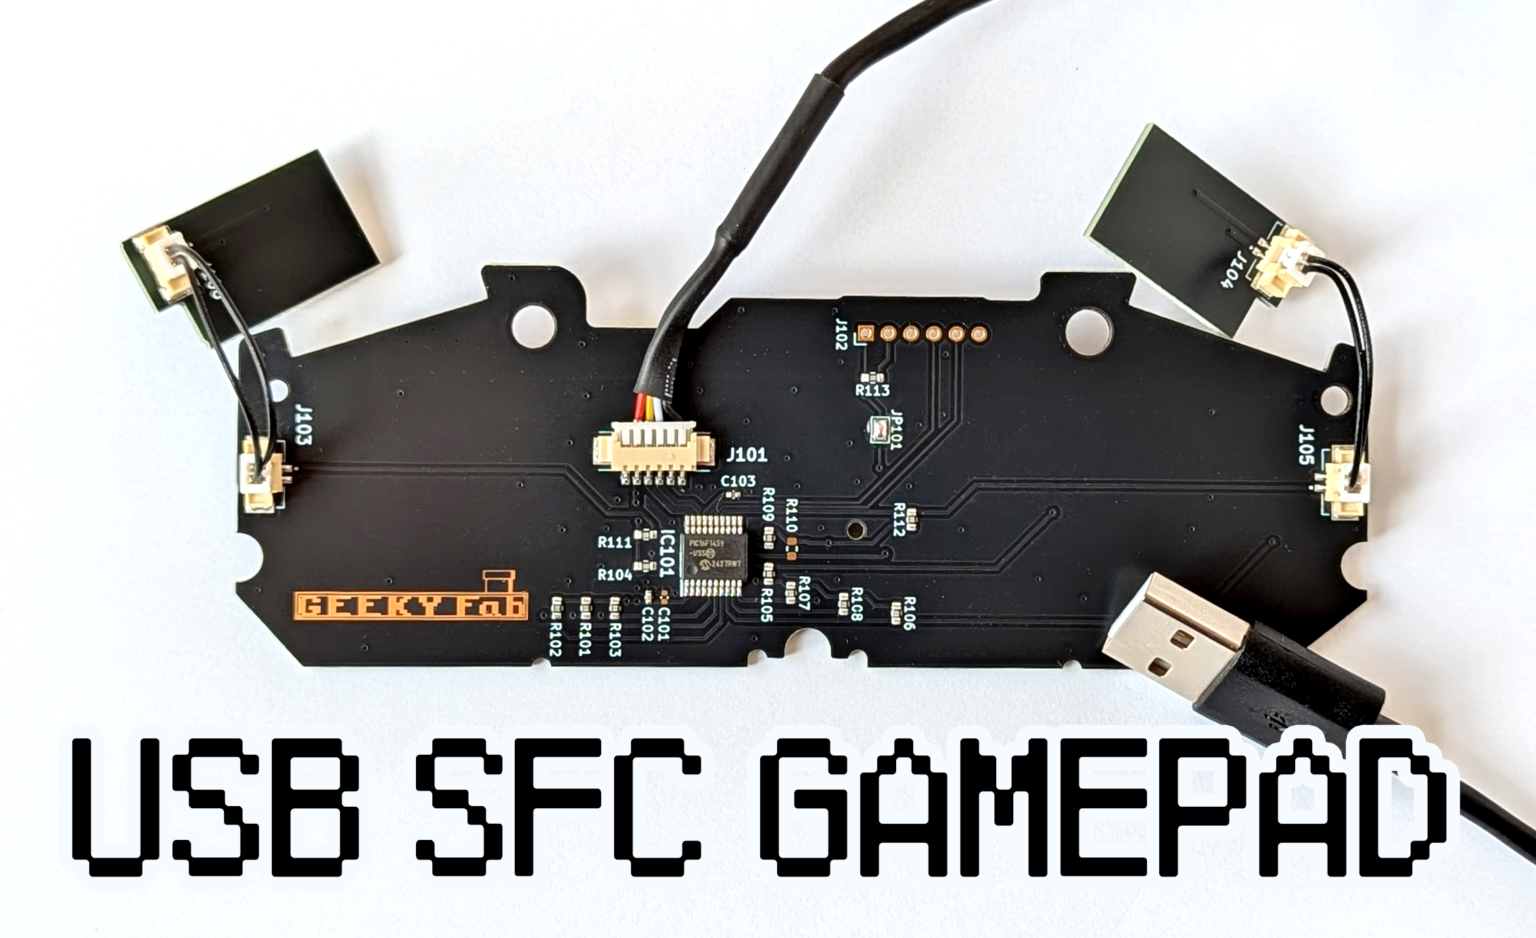
I built a board that turns an SFC controller into a USB gamepad a while back, and this one is a variant of that.
The basic design is the same; the board is just shaped to fit a Saturn pad instead.
I’ve published the design data on github.
These are on sale now, so please take a look. If you’re outside Japan, you can order one from our Tindie store.
Here’s the Spec I’m Going For
Basically, I’m going to follow the design of the USB gamepad board for the SFC controller while making this one.
The only real differences are the board shape and the buttons, so those are what I need to figure out.
The L/R buttons were the biggest headache.
The Saturn pad uses tactile switches for its L and R buttons, but it looked like I wouldn’t be able to get those exact switches, so choosing the parts took some thought.
The SFC controller USB gamepad board also had a D-pad mode switching feature and a double button assignment feature, and I’m putting those in here as well.
Drawing the Schematic
It came out like this.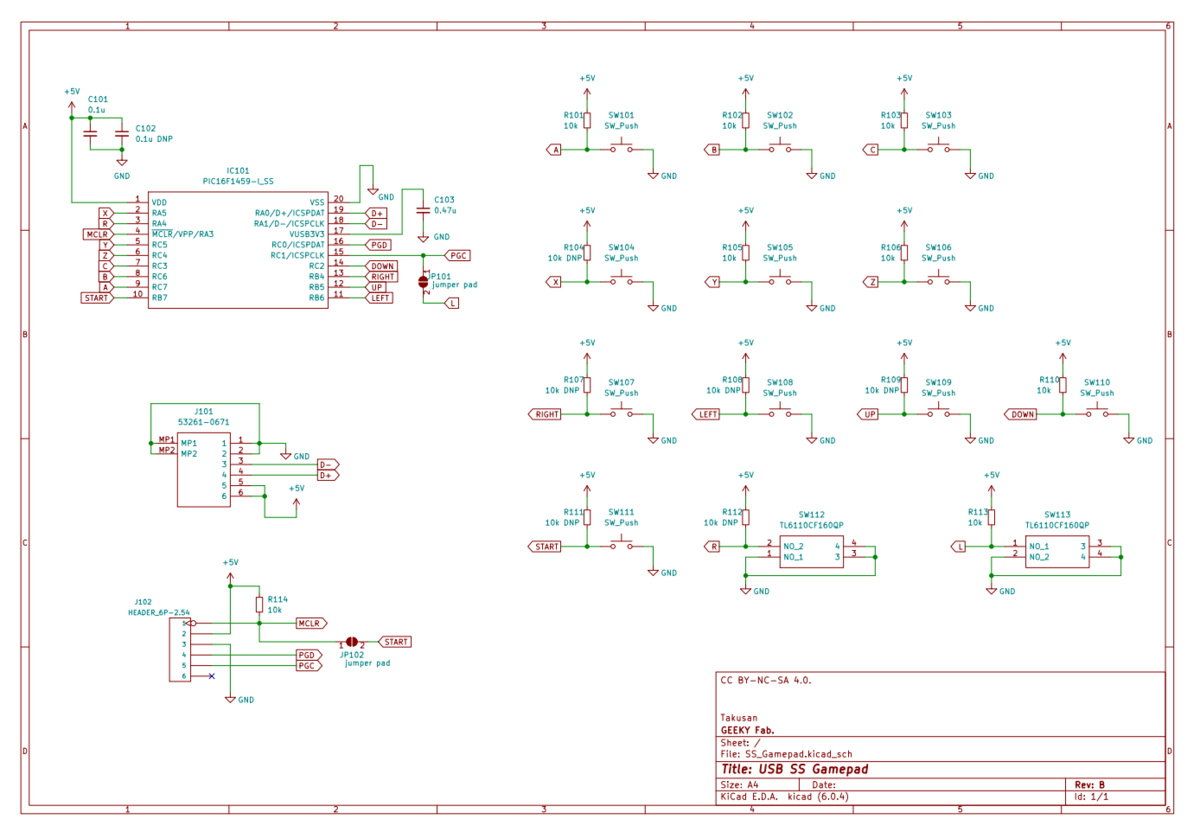
Here’s the pdf.
usb-ss-gamepad/hardware/SS_Gamepad_revB at main · takusan213/usb-ss-gamepad · GitHub
Main Microcontroller
The main microcontroller is the PIC16F1459.
According to Akizuki Denshi (a Japanese parts shop), it looks like it may be heading for EOL. Which is a pain.
Tactile Switches for the L/R Buttons
The tactile switches used for the L/R buttons on a genuine Saturn pad are quite soft, with a fairly long stroke.
It looked like I couldn’t get switches with the same spec, so this time I went looking for something close that also felt good to press.
And here’s the tactile switch I ended up choosing.
Personally, I think it feels pretty good to press.
Here’s how it compares with the genuine switch.
| Operating force | Travel | |
|---|---|---|
| This product | 1.6N | 0.5mm |
| Saturn pad | approx. 1N (measured) | approx. 1mm (measured) |
Work = force × distance, so on paper you could almost say the feel works out close… maybe…?
By the way, you can also swap in the tactile switches from a genuine Saturn pad if you want.
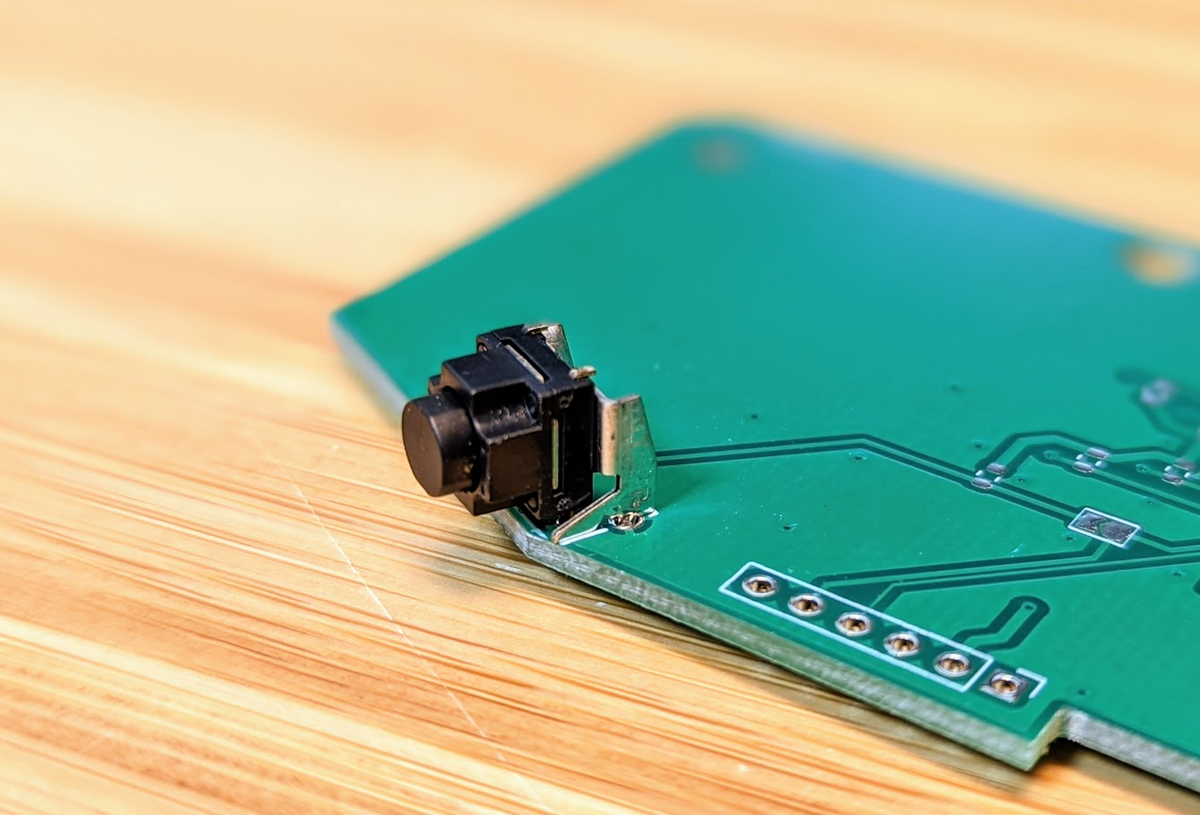
Drawing the PCB Artwork
This part takes a lot of work. The board outline, the holes, and the button pads all have to be drawn so they fit the Saturn pad exactly.
When I made the SFC one, I was building a board, tweaking it a little, building another… and so on. This time, using a 3D printer let me iterate on the design a lot faster.
Specifically, the cycle went:
draw the board outline in KiCad → export it as a dxf → build the 3D model in 3D CAD → print it on the 3D printer
and repeat.
Thanks to that, I managed to design a board that fits the Saturn pad on the first try.
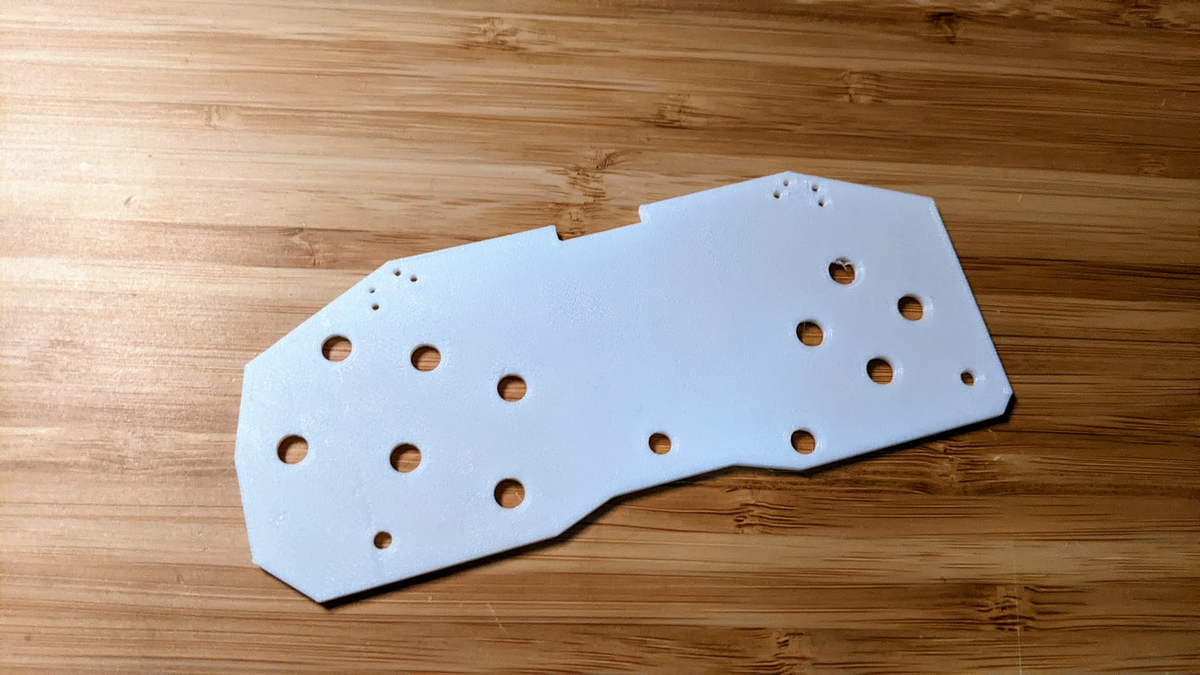
Here’s the final PCB artwork ↓
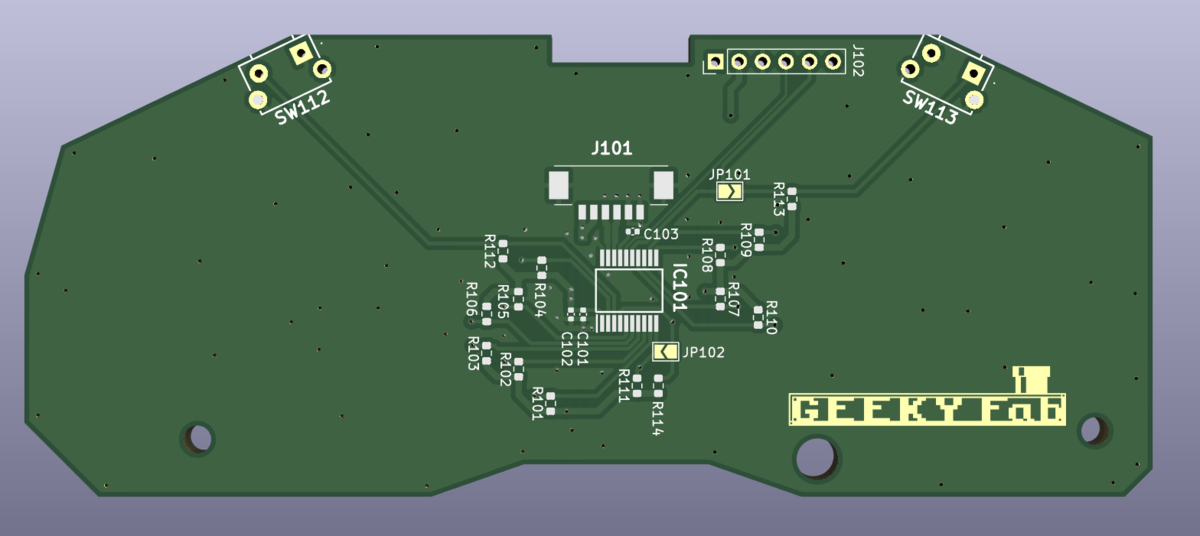
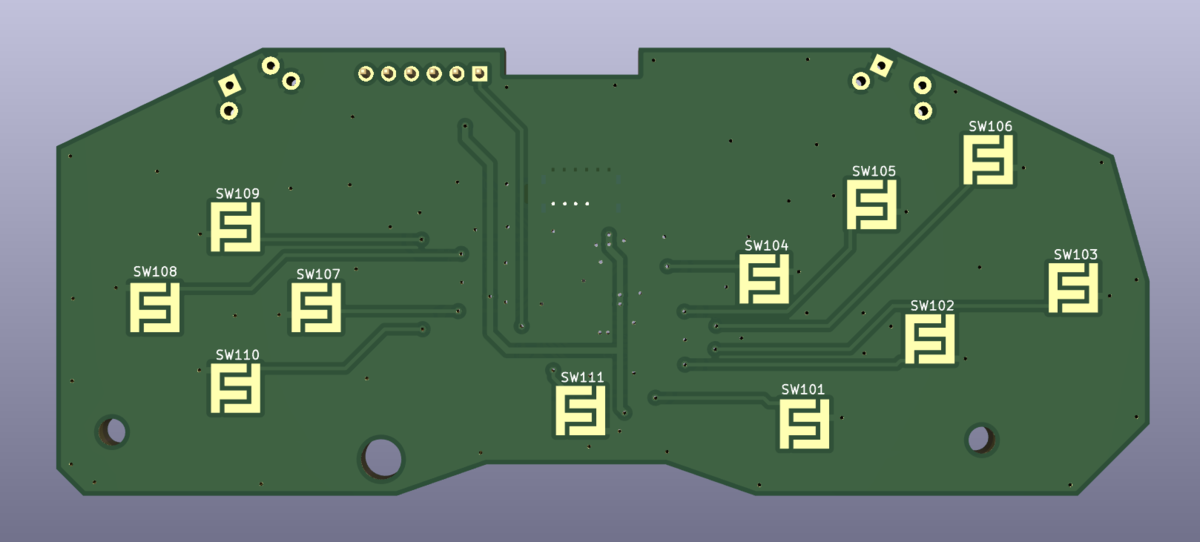
Button pad side
Getting the Boards Made
I send the board’s Gerber data off to a manufacturer and have the boards made.
This time I ordered from All PCB.
I left the order options mostly at their defaults, but for the surface finish I chose gold plating.
That’s to keep the button pads from oxidizing.
And then the boards arrived.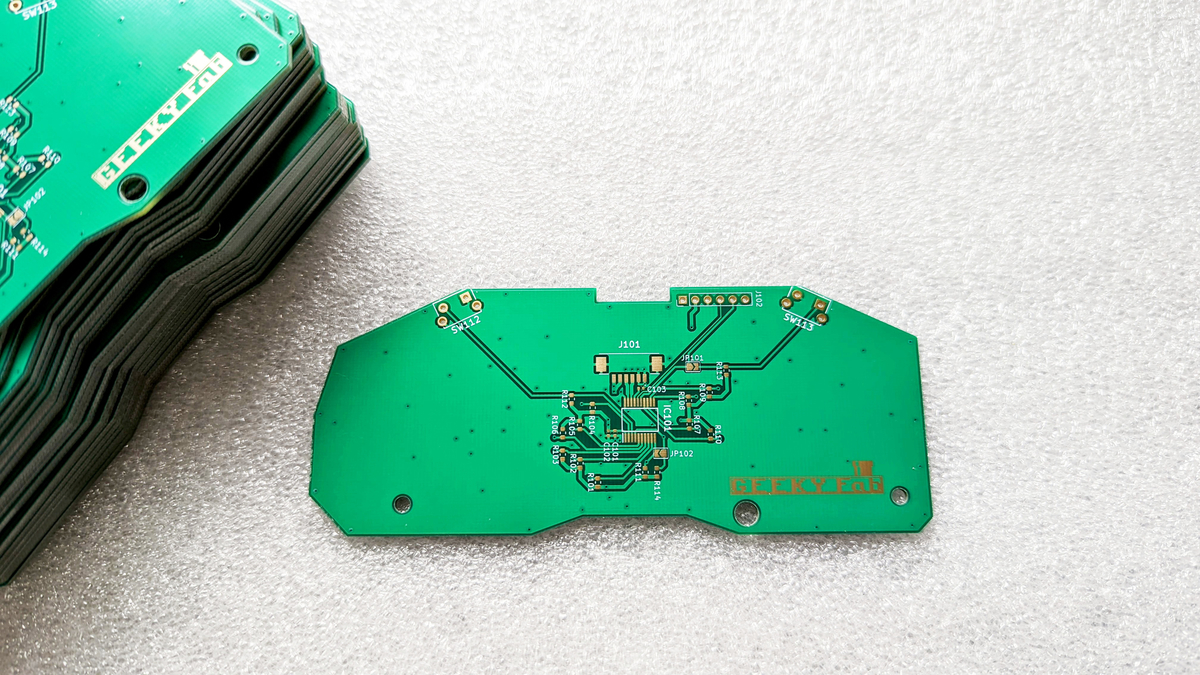
With the gold-plated logo, they look pretty cool.
Mounting the Components
I needed to build a lot of these for sale, so I’m mounting the parts using solder paste.
Of course, hand soldering works perfectly well too. I hand-soldered the first prototype myself.
I forgot to take photos while mounting the parts, so all I have is a shot after the surface-mount work…
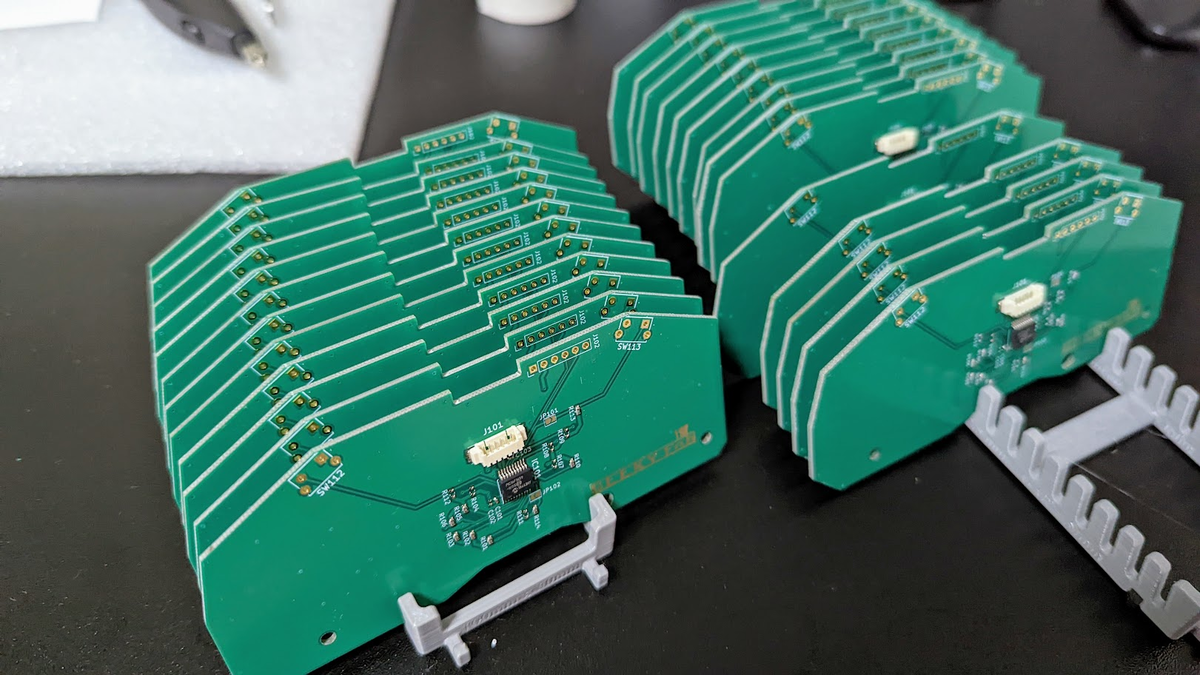
Making the USB Cable, Attaching It, and Finishing Up
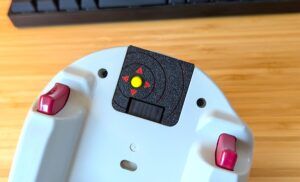
To keep things tidy, I designed the board so the USB cable plugs into a connector, which means I need to make a USB cable for it.
I also need to make that cable-protector thing at the base of the controller.
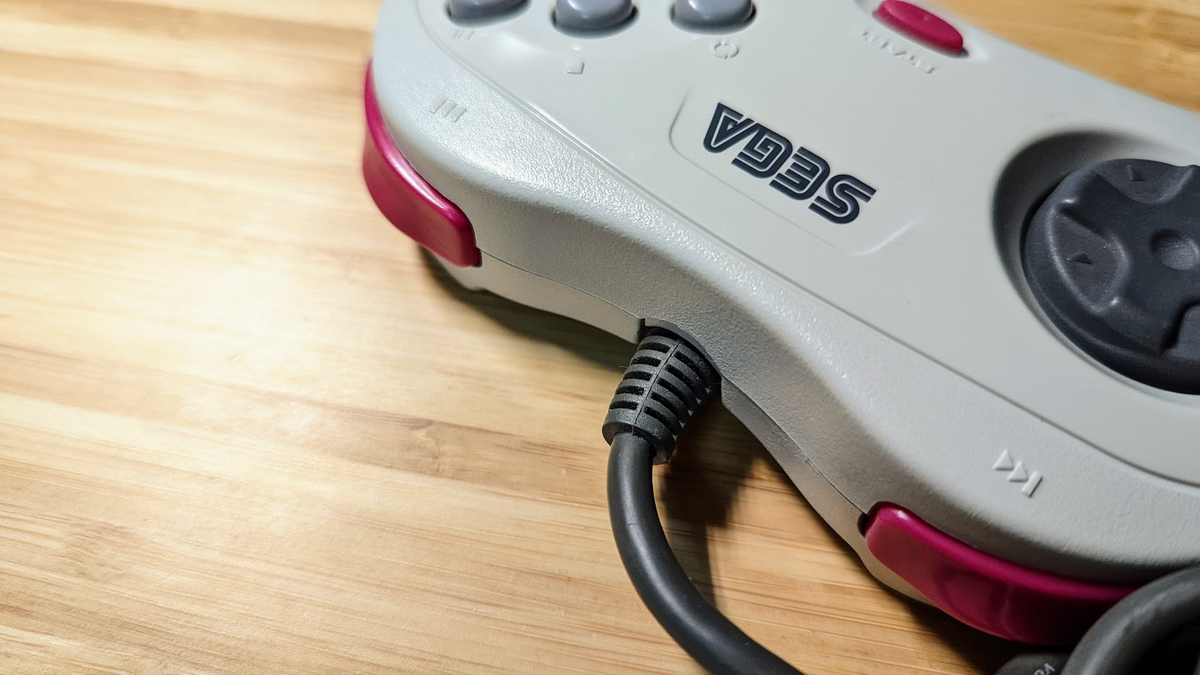
Making That Cable-Protector Thing at the Base of the Controller
Apparently it’s called a strain relief.
I measured the strain relief on the Saturn pad’s own cable and worked it into 3D CAD data.
This is what I ended up with.
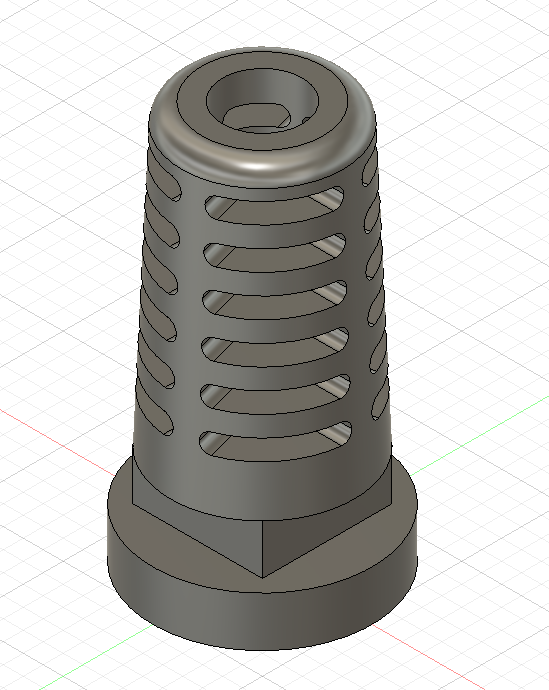
It’s fixed to the cable by pouring in hot-melt glue, and I made the inside jagged so the glue that goes in doesn’t pull back out easily.
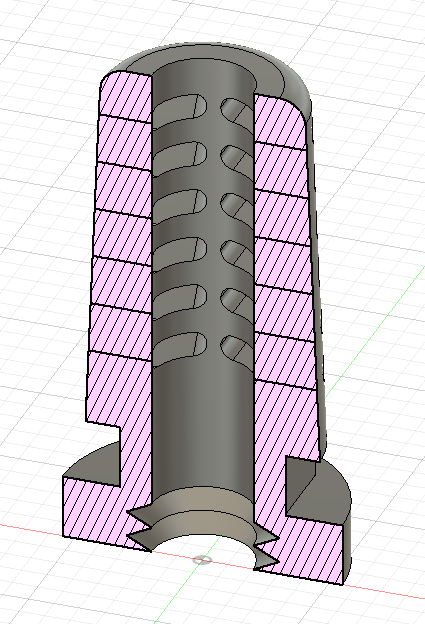
Without the jagged surface, the hot-melt glue pulled out pretty easily even after filling it, so I added this little trick.
This is it printing on the 3D printer.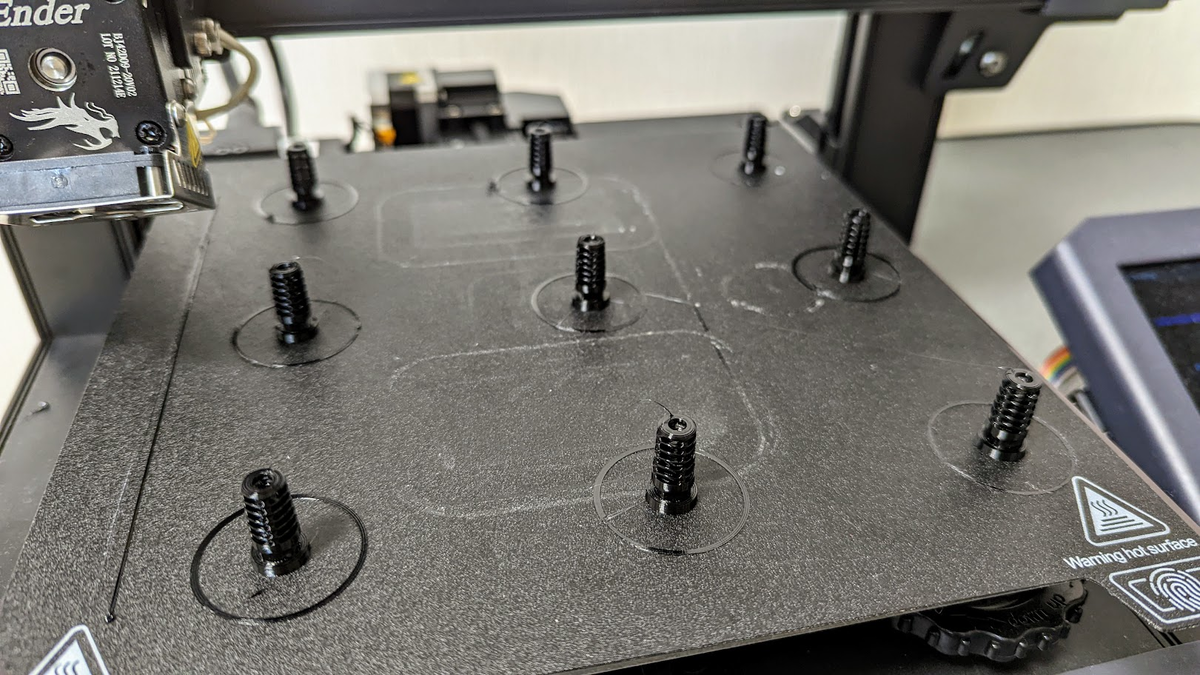
I think it came out looking pretty good.
Well, a pile of failed prints did get created before I got a clean one…
Make the USB Cable, Attach It, and You’re Done
After that, I make a USB cable using the strain relief I printed, combine it with the board, fix it in place with hot-melt glue, and it’s done.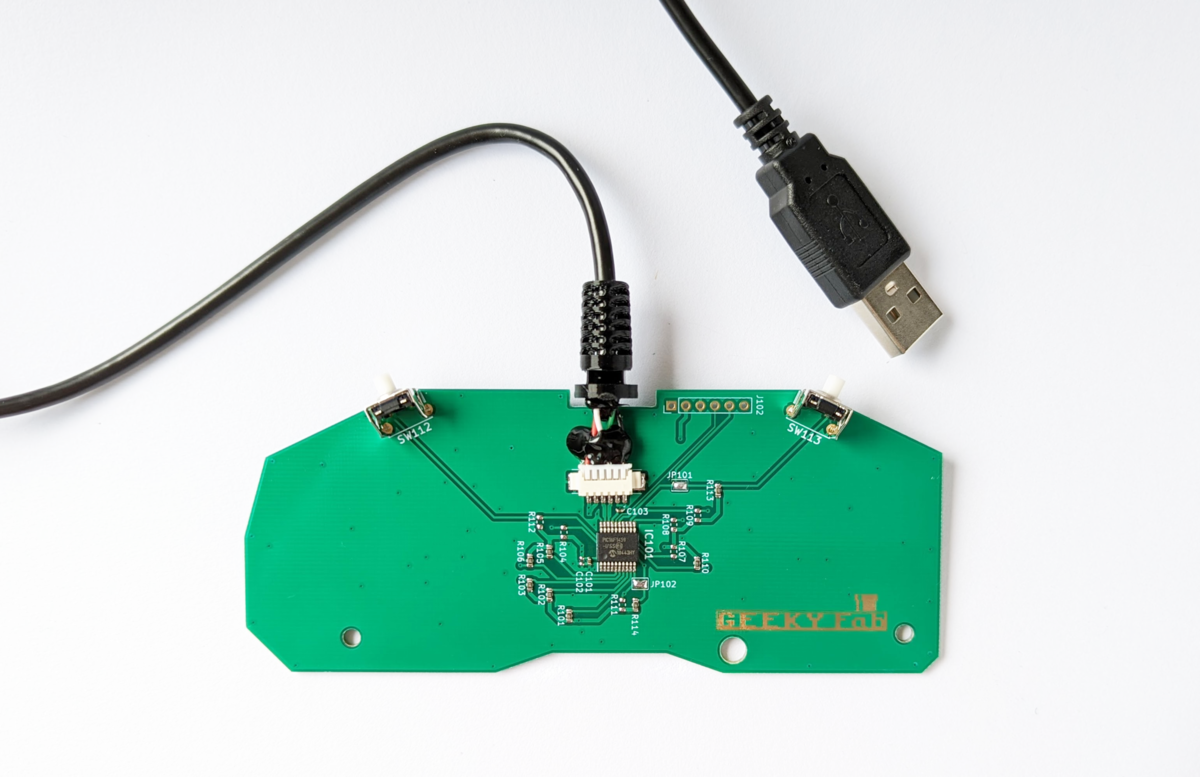
Writing the Program
This part is pretty much identical to the SFC controller USB gamepad board, so if you’re curious, go read that article.
I implemented the button switching features so you can toggle them by holding start+L / start+R.
After flashing the program with a PICkit 3 or something similar, please bridge the two pads on the board (J101, J102) with solder.
That takes the board out of PICkit flashing mode and into normal operating mode.
If you want to flash a program with a PICkit again, remove the bridges instead.
Turning a Saturn Pad into a USB Gamepad
Now that the program is flashed onto the board, let’s fit it into a Saturn pad and turn it into a USB gamepad.
Take this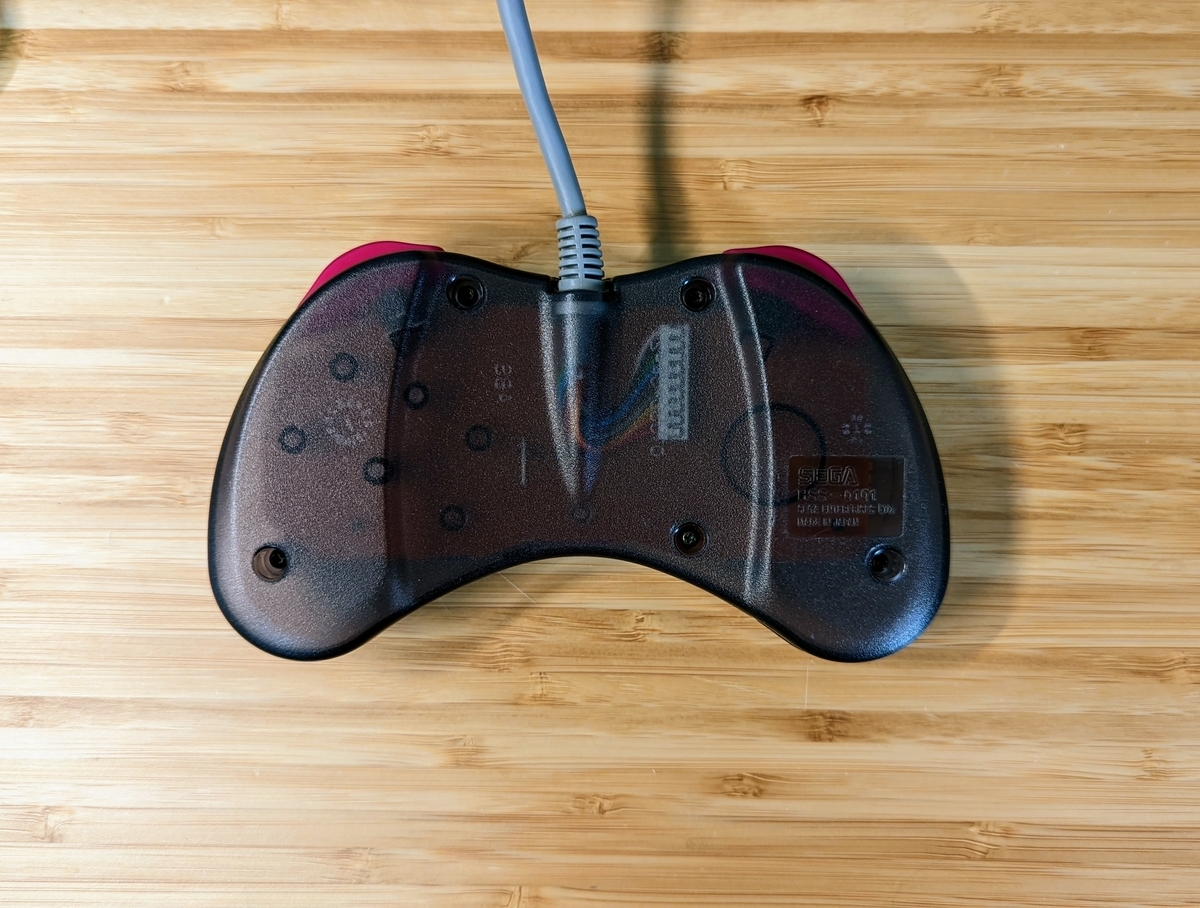
do this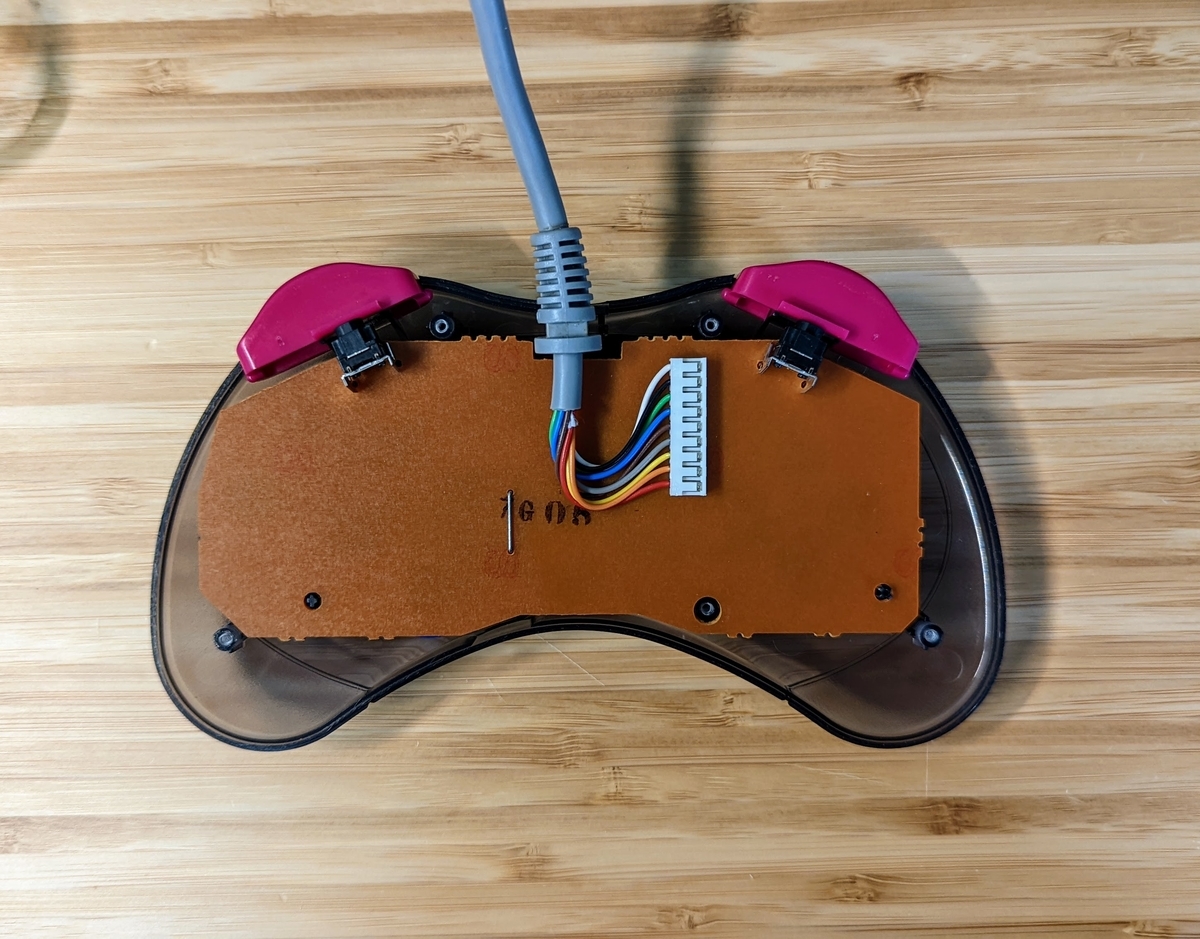
and like so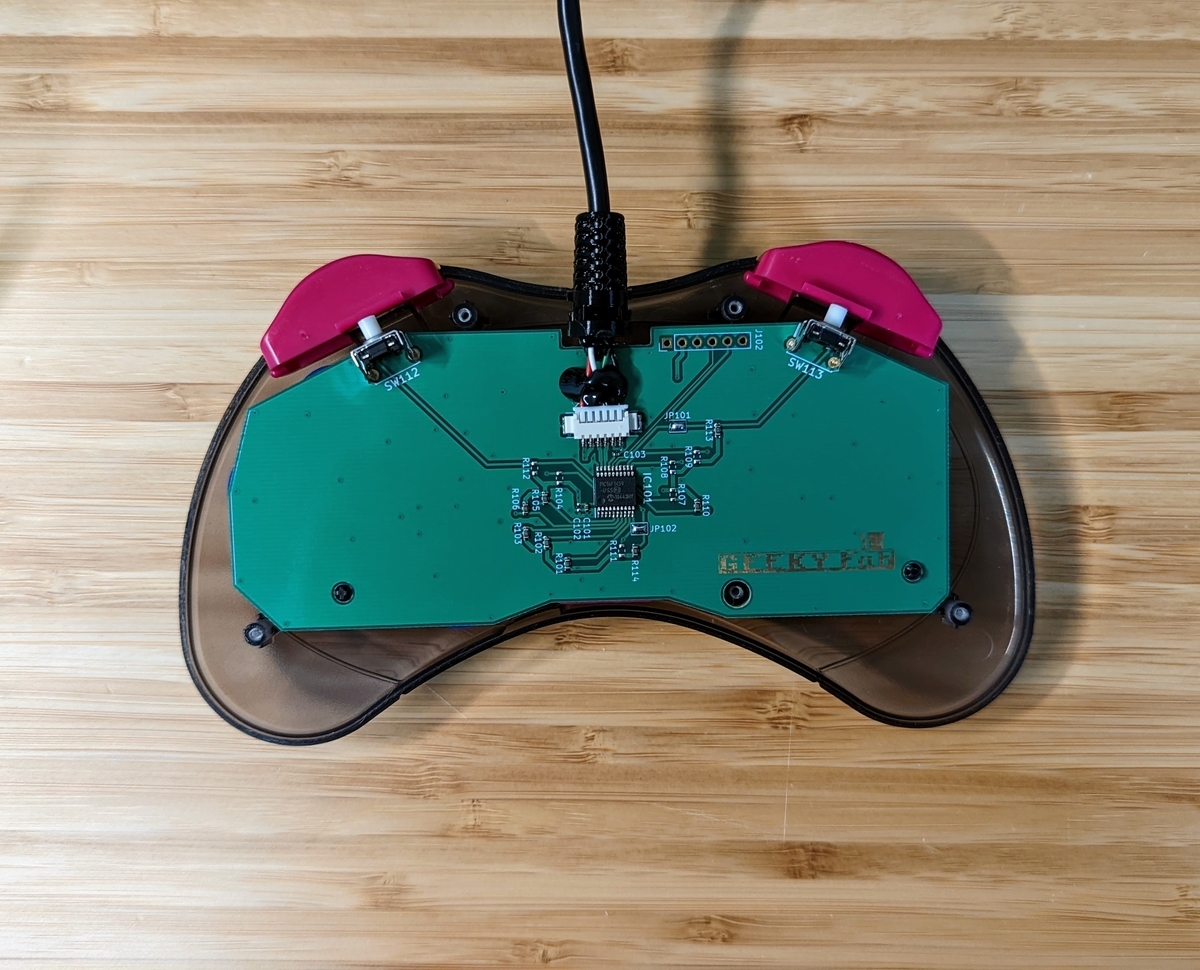
And there you go.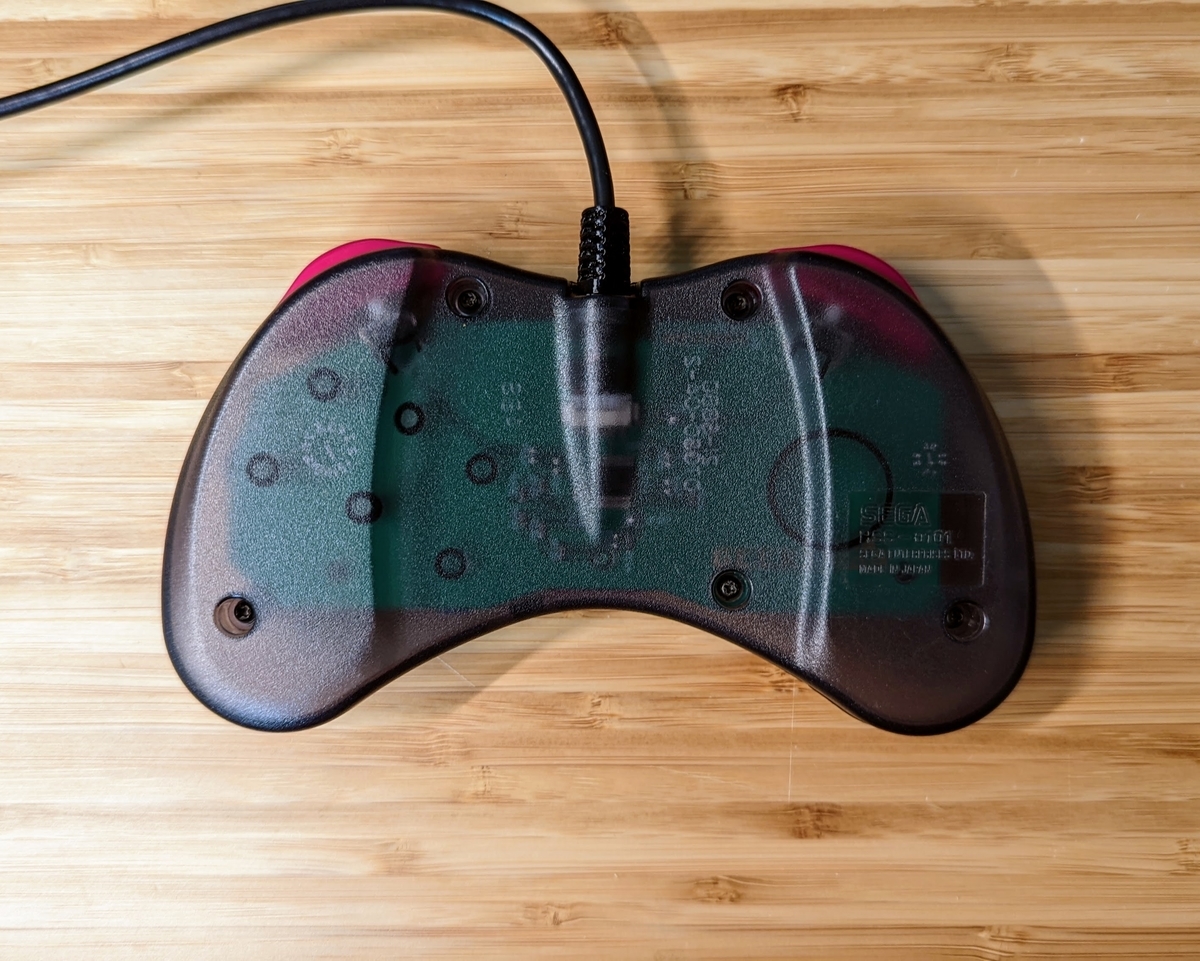
Let’s go play some games with it right away.
Trying It Out
Testing
Before playing, a quick function check just to be sure.
All the buttons and the D-pad work.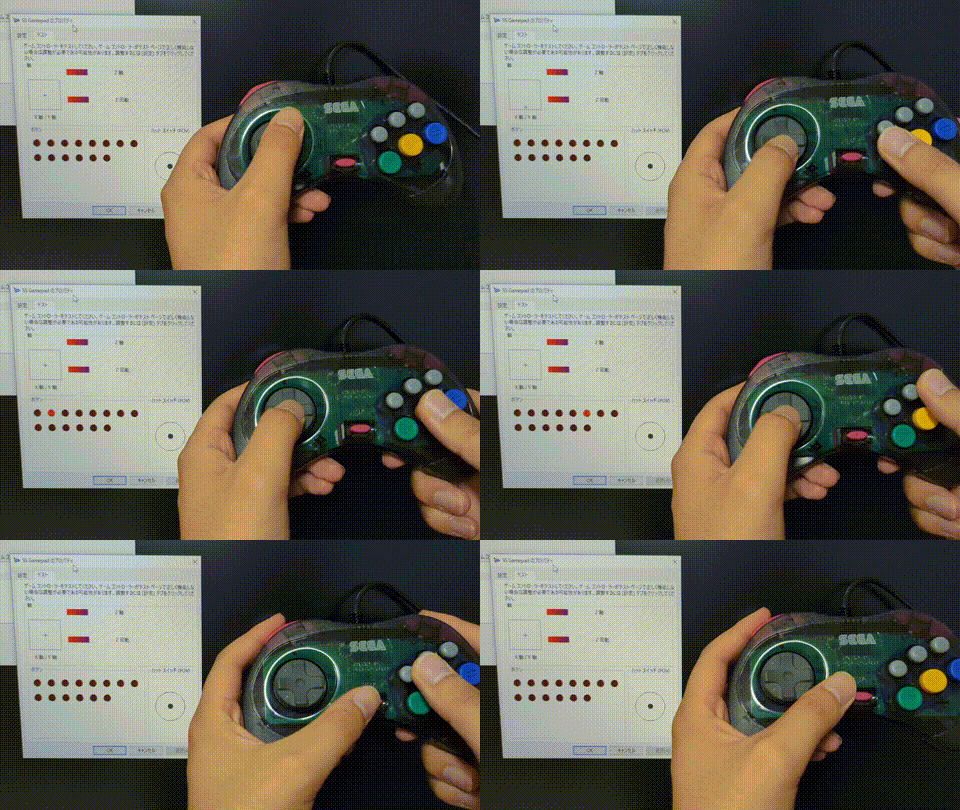
The D-pad mode switching feature (hold start+L for three seconds) works too.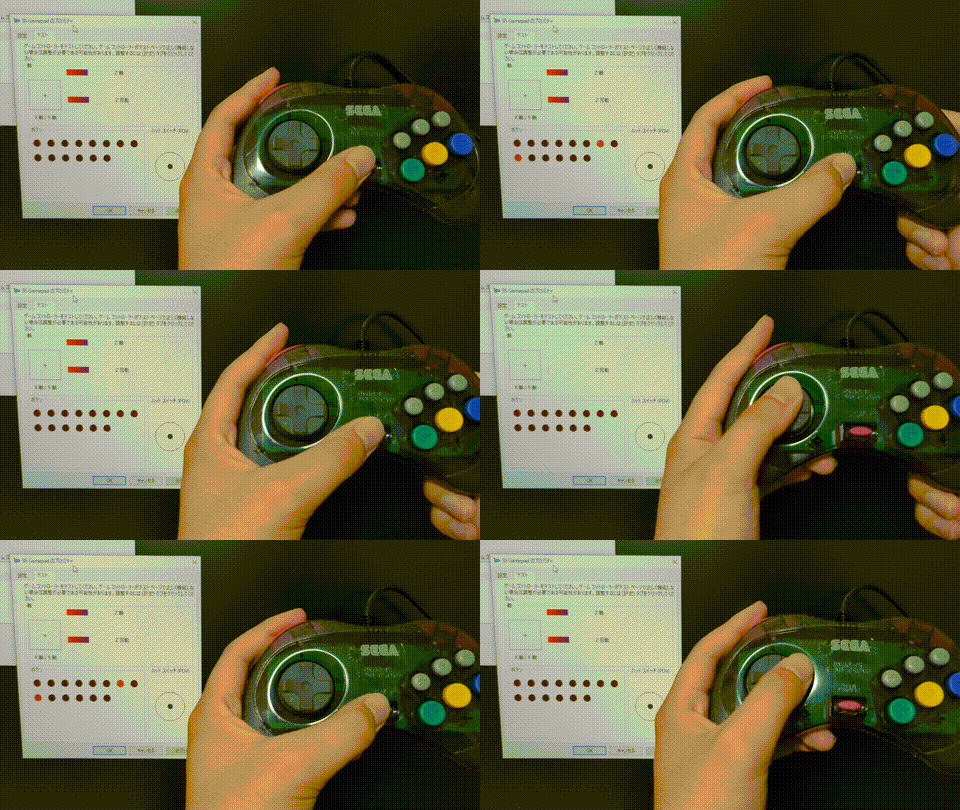
The double button assignment feature (hold start+R for three seconds) works as well.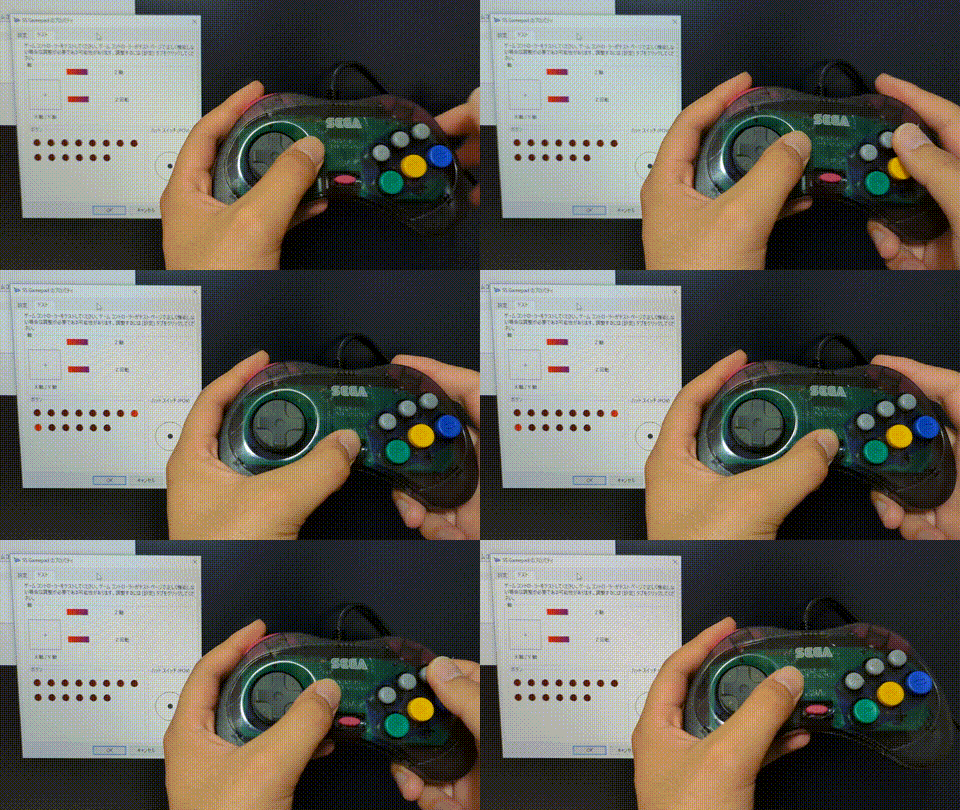
So, the function check passes.
Playing on the Retro Freak
I tried Super Mario World on the Retro Freak.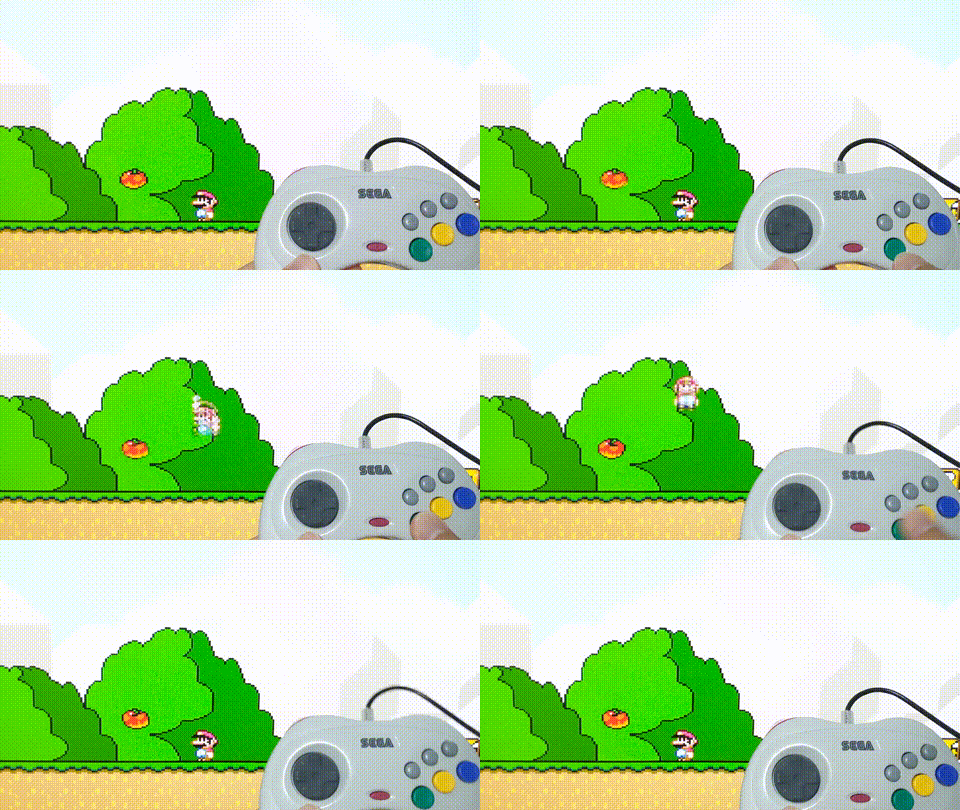
The response is good.
Playing on Steam
First, I set up the controller’s button assignments.
Assigning the buttons while using the D-pad mode switching feature and the double button assignment feature was pretty tricky, but I managed to get everything registered.
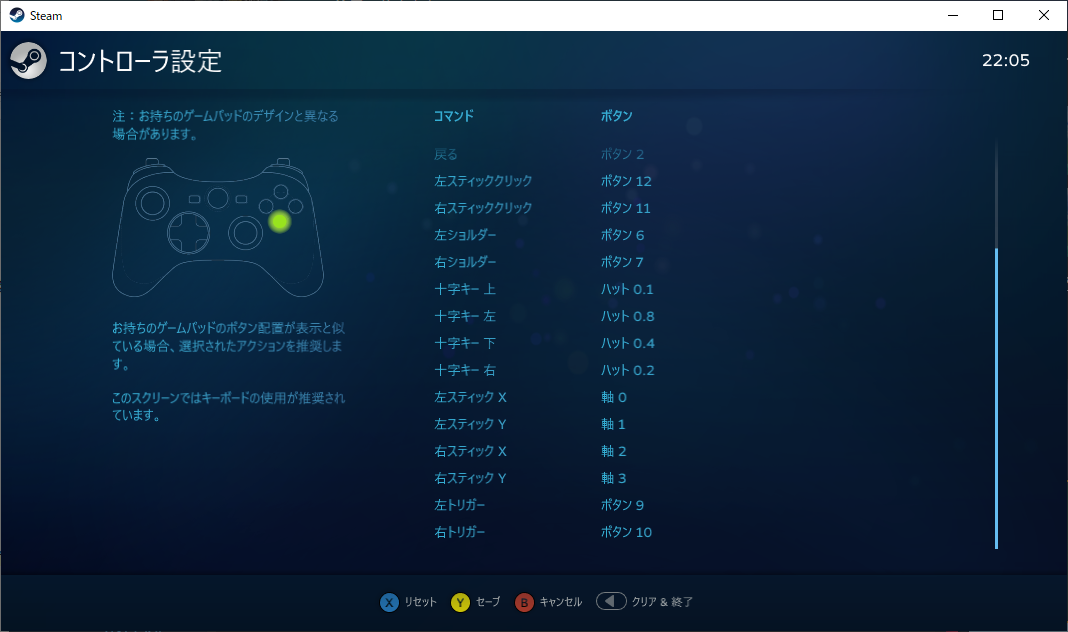
For starters, I tried Cuphead.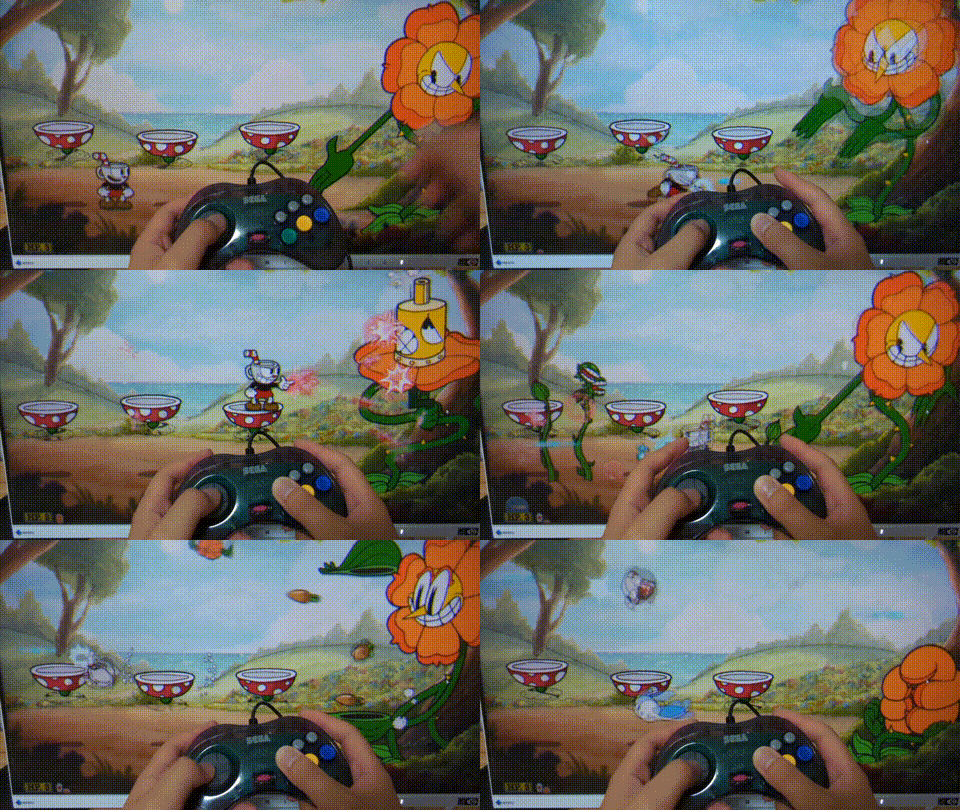
Feels good!
Wrapping Up
This time I built a board that turns a Saturn pad into a USB gamepad.
It turned out to be a project where the 3D printer was surprisingly useful.
I’m pretty happy with how it came out, too.
The firmware source code for this board is published on Github, so if you like, please give building one a try.
(The board data is still being prepared for release.)
I’m selling them as well.
That’s it for this one.
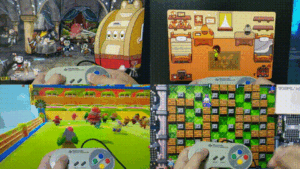
With button remapping and Switch / XInput support, the controllers you grew up with work in all kinds of environments.
Comments